Clock Watchdog Timeout is a blue screen error that can occur due to the mismanagement between threads and cores of your processor. Typically, a thread or core is waiting for an operation to conclude or is waiting to process an action, and if it remains in the waiting state, the thread or core timeouts, resulting in the error.
However, the actual cause for Clock Watchdog Timeout error is not known, but there are some areas that when acted upon or taken care of, can help in the error elimination, listed here are some of these:
- Malfunctioning drivers
- Hardware conflicts, such as incompatibility, mixed RAM, or even firmware conflicts with the hardware.
- Bad Memory or Insufficient RAM
- Overclocked CPU
- Altered or Outdated BIOS Settings
- Corrupted System Files
- Improper installation of updates or damaged update files
What causes the Clock Watchdog Timeout error in Windows 10 might not be exactly known, but what can be done to fix it is listed in this article. The post walks you through several methods that address the issues stated above and help you resolve the error, starting with the two that can immediately fix the clock watchdog timeout error.
Two Troubleshooting Methods to Try Out First
If you came across the clock watchdog timeout error in your Windows, then you should first try out the methods listed under this section. Those who face this error have benefitted from these troubleshooting solutions. Also, the solutions follow a specific direction based on when you get the error.
If you Get the Error After Installing a Windows Update – Uninstall Latest Updates
Some blue screen errors may arise when you install a particular update on your device. If you see a blue screen clock watchdog timeout error after installing an update, consider removing recent updates to resolve the issue.
You’ll need to log into Windows in safe mode to accomplish this. Safe mode helps you to troubleshoot problems by starting Windows in a minimal state with a limited range of files and drivers.
Additionally, you must first access the Windows Recovery Environment (WinRE ) before entering safe mode. Here’s how to do it:
- Press and hold the power button of your device for 10 seconds to turn it off.
- Again, press the power button to turn the device back on.
- Now, when Windows is starting, like it shows the manufacturer logo, you again have to press and hold the power button to turn off the device.
- Next, turn it on by pressing the power button.
- When Windows begins to start, turn it off again, by pressing and holding the power button for 10 seconds.
- Turn on the device by pressing the power button, this time allowing the Windows to entirely restart, and it will enter WinRE.
Now that you have entered the Windows Recovery Environment, follow the steps listed below to enter in safe mode:
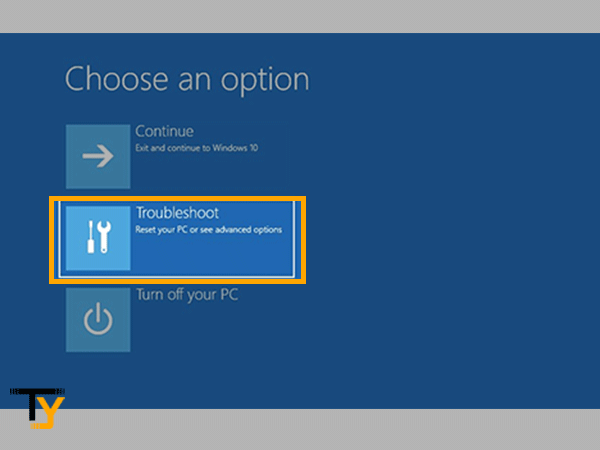
- From Choose an option screen, click on the Troubleshoot option.
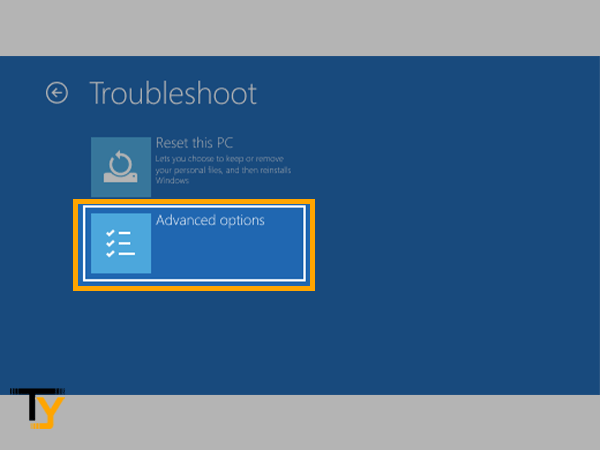
- Next, the Troubleshoot screen will appear from where you have to select Advanced Options.
- The next screen takes you to the Advanced Options, where you have to select the Startup Settings option.
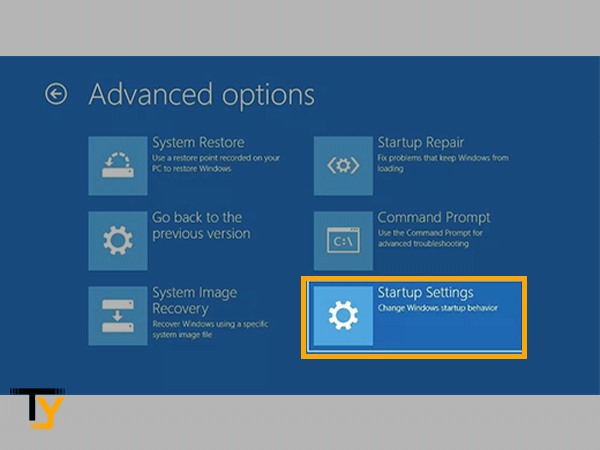
- Then, click on the Restart button.

- Thereafter, your system will restart, and you will be presented with a number of options. You have to press 5 or F5 from the keyboard to enter Safe Mode with Networking.
Once your system is booted in the safe mode, you can follow the steps listed below to uninstall the updates that you have recently downloaded, probably because of which the clock watchdog timeout error has occurred:
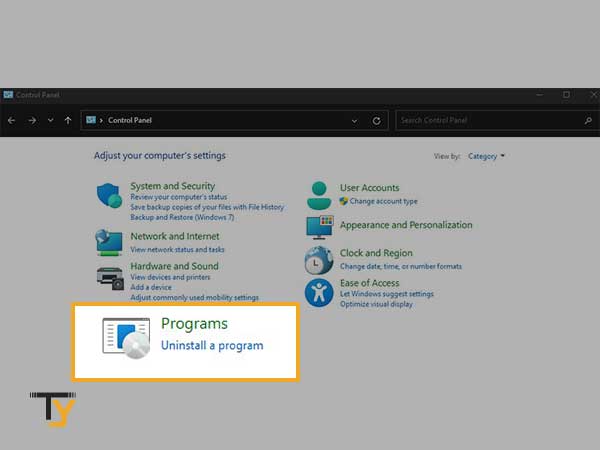
- To begin with, in the search box of the system, type control panel and select Control Panel from the results.
- After the Control Panel is opened, select the Uninstall a program option from the Programs section. If you have selected the Large/Small icon View in the Control Panel, then Uninstall a program that will be present under Programs and Features.
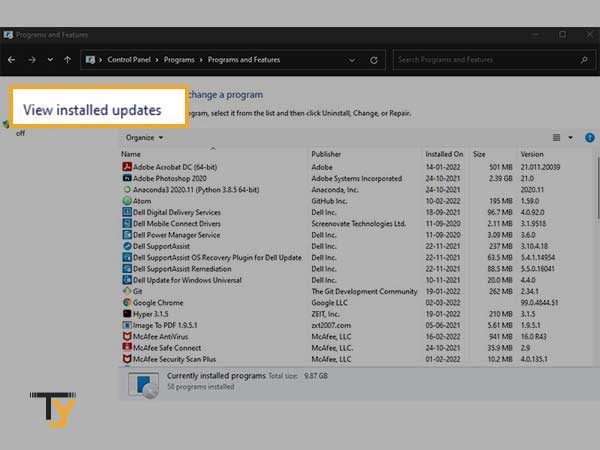
- From the next screen’s left sidebar, select the View installed updates option.
- Now, click on the Installed On column of the Update Details table from the next screen. This will sort the updates on the basis of their installation dates.
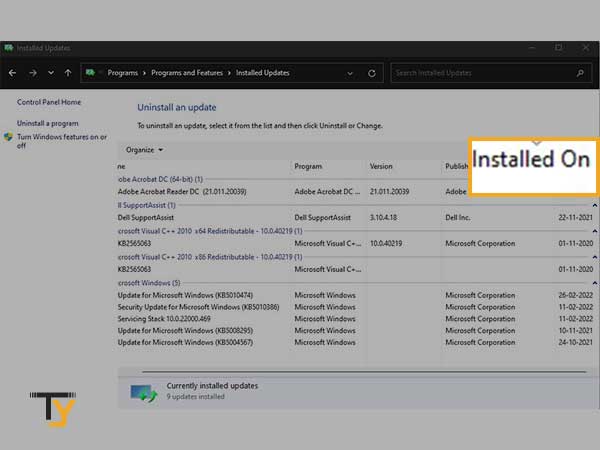
- Look for the update recently downloaded. Right-click on it and select Yes to confirm the update uninstallation.
- At last, restart your system.
If you Get the Error While Using Your System – Uninstall Third-Party Antivirus
It’s not always clear what triggered a blue screen clock watchdog timeout issue when using your system; it might be new hardware or a third-party application that isn’t supported with your Windows device.
Third-party antivirus software that is incompatible with your system has been known to create blue screen errors. You can remove this program to see whether it’s the source of your problem, then reinstall the compatible antivirus software your device is back up and running.
Nevertheless, before removing or uninstalling the program, you are required to enter the Windows Recovery Environment and then boot your device in Safe Mode. The detailed steps for doing so are listed in the above section.
After entering the Safe Mode of your PC, you are required to follow the steps stated below to uninstall the third-party antivirus program:
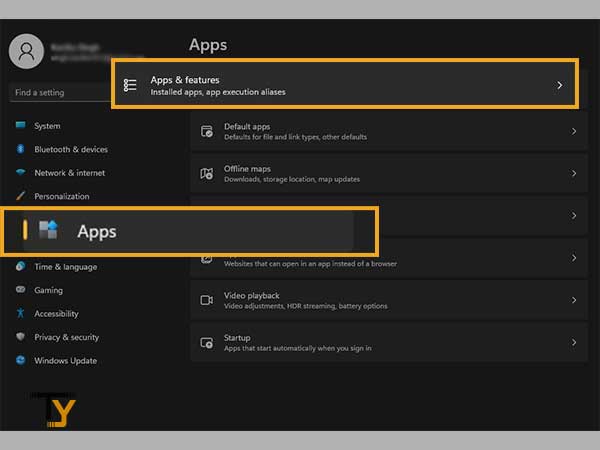
- Once the device has entered Safe Mode, click on the Start button from the taskbar and click on the Settings icon present near the Power button.
- Then, from the Settings Window, select Apps and then click on the Apps and Features option.
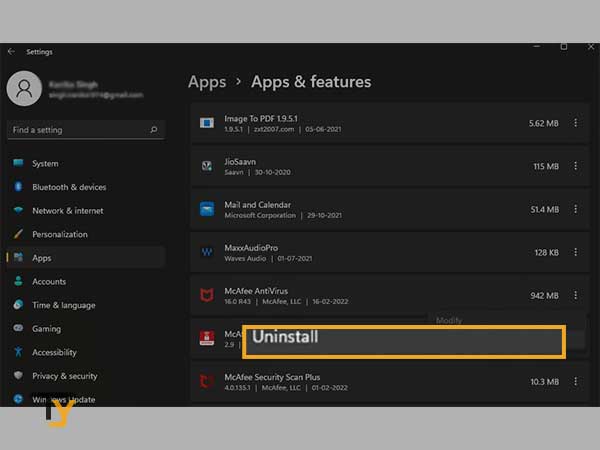
- Thereafter, the list of software installed in your system will appear. There, look for the third-party antivirus program that you have recently installed.
- At last, click on the Uninstall button present next to the antivirus program you want to remove and restart your PC.
The solutions stated above should resolve the Windows clock watchdog timeout error, however, if you are still facing the issue, then listed further in the article are some more troubleshooting methods that can help you out.
10 Additional Methods to Fix Windows Clock Watchdog Timeout Error
Method-1: Run System File Check Command
If you could not fix the Clock Watchdog Timeout Error on your Windows operating system using the solutions mentioned before, the next first thing you can do is run the System File Check (SFC) scan in your system.
The command scans all the system files and looks for the ones that are damaged and possibly evoking the error. Furthermore, SFC not only finds such corrupted files, but also replaces them with the correct versions. Hence, if this Clock Watchdog Timeout Error is due to some internal file damage, then it will be rectified by running the SFC scan.
Seems useful right? Yes, it is. Here’s how you can execute it:
- First, you have to open the command prompt as administrator. For doing so, click on the start button, type CMD in the search bar, and select the Run as Administrator option.
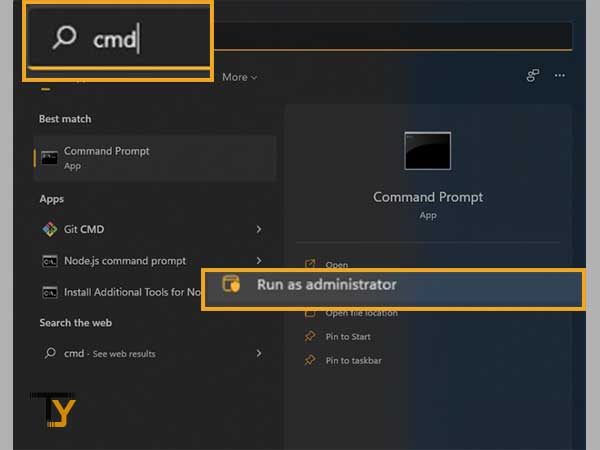
- Now, click on the Yes button to grant permission to open the command prompt as the administrator.
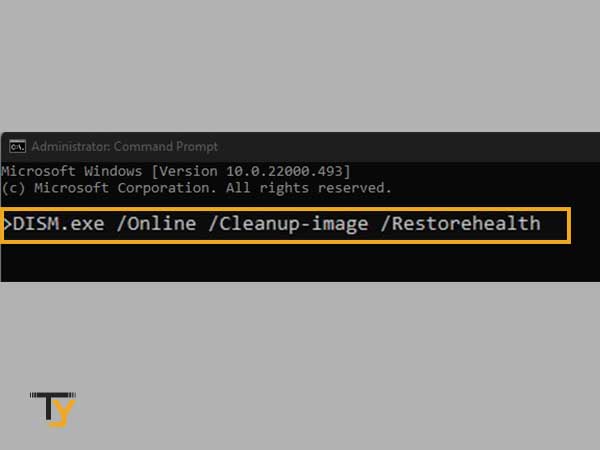
- Once the command prompt is opened, type the following command and press Enter key after it:
- DISM.exe /Online /Cleanup-image /Restorehealth
- DISM.exe /Online /Cleanup-image /Restorehealth
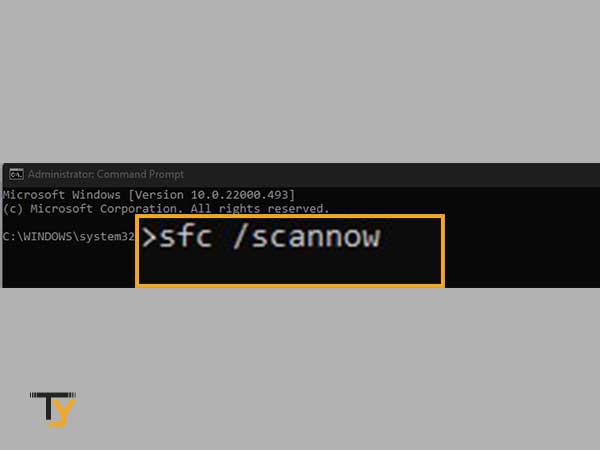
- It will take some time for the full execution of the above command. After it’s done, type in the command stated below and hit Enter from the keyboard:
- sfc /scannow
- sfc /scannow
After you press Enter, the SFC scan will start running, and you have to be patient for the scan to complete. After this, you are not required to do anything, as the scan will itself identify the damaged files and replace them with the correct cached file from your system.
Notes
Do not close the command prompt till the SFC scan is 100% complete.
Once the SFC is fully executed, you will get the following result that infers the situation after scanning:
- “Windows Resource Protection did not find any integrity violations.” – Any damaged files are not detected.
- “Windows Resource Protection found corrupt files but was unable to fix some of them.” – Damaged file is found but cannot be repaired.
- “Windows Resource Protection found corrupt files and successfully repaired them.” – Corrupted file/s was/were located and replaced with the correct ones.
Method-2: Uninstall or Disable Drivers
Sometimes, the problem arises from an unexpected source, and the same is the case here. If you have recently installed new drivers, then it might be the case that those are not compatible with your system and thus, triggering the clock watchdog timeout error on your Windows 10.
Therefore, to resolve this issue, you have to disable or uninstall the drivers you have recently downloaded. The steps jotted down will guide you through the process:
Notes
Before carrying out the process, you are required to enter your system’s Safe Mode. Refer to ‘If you Get the Error After Installing a Windows Update – Uninstall Latest Updates’ for the steps.
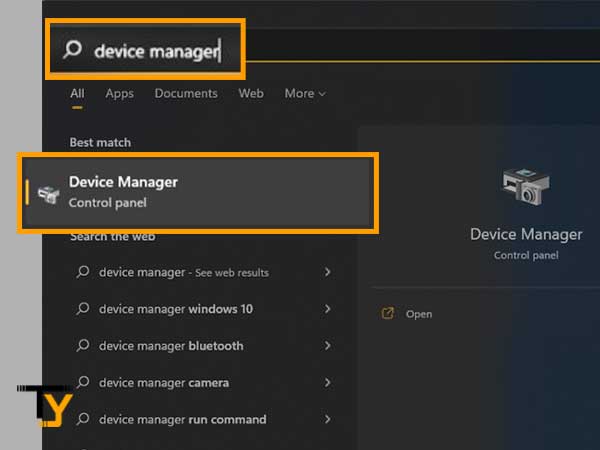
- In the search box of your system, type device manager, and from the list of results, select the Device Manager option.
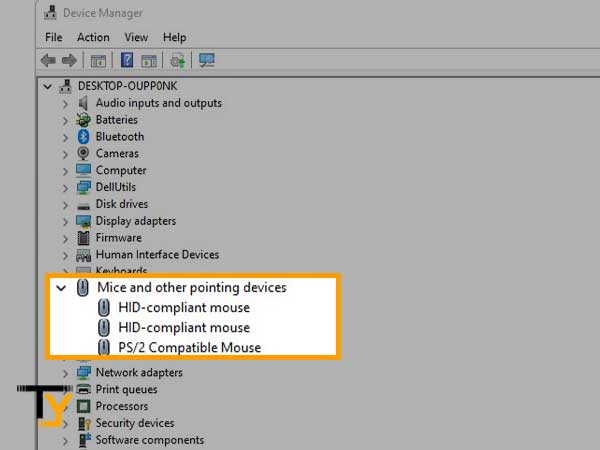
- Now, within the Device Manager screen, expand the device for which you have installed the drivers.
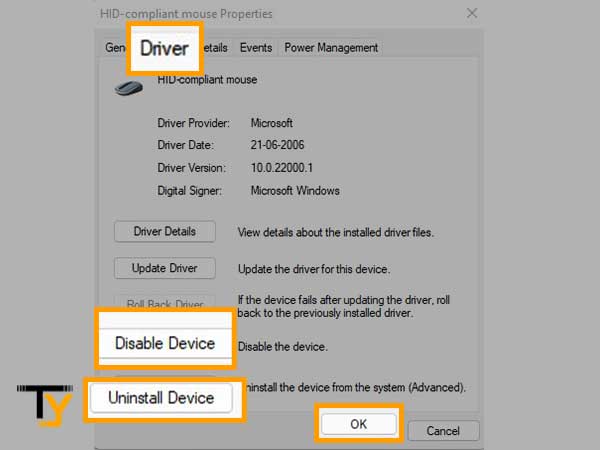
- Then, right-click on the driver under the expanded device, and from the context menu, select the Properties option.
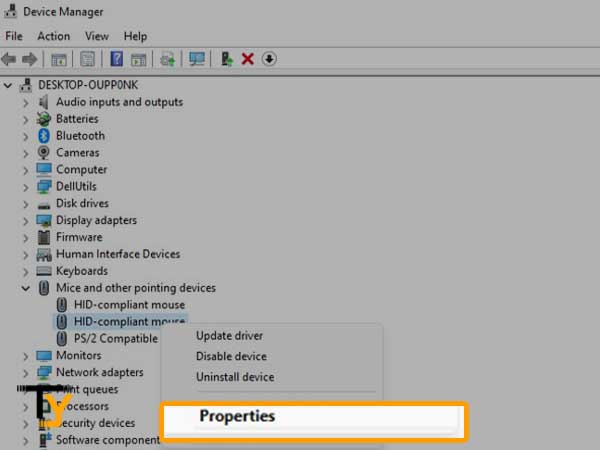
- Thereafter, inside the small window that pops up, switch to the Driver tab, and select either of the options:
- Click on the Disable Device button and then click Yes.
- Click on the Uninstall Device and then click OK.
- Once you are done with the above steps, restart your device to fully uninstall or disable the drivers.
Method-3: Disconnect External Hardware
External gadgets on your system might sometimes generate the clock watchdog timeout error. Restart your device after unplugging any external storage devices like drives, docks, and other gear that isn’t required for fundamental functioning.
If the problem is gone after restarting your device, then the external device might be evoking the error, and you’ll need to contact the device’s manufacturer for further assistance.
Method-4: Run Windows’ Built-in Troubleshooter
Windows troubleshooter is a very useful tool that helps you identify the problem in your system and fix them on its own.
Issues with some system devices and services can be solved by running their specific troubleshooters. Similarly, for Blue Screen issues, a Windows built-in troubleshooter is present that deals with such errors. Since clock watchdog timeout is a blue screen error, the troubleshooter will fix it as well.
Listed below are the steps for using the Windows Troubleshooter:
- Click on the Start button from the taskbar.
- Then, click on the Settings icon present just next to the power button.
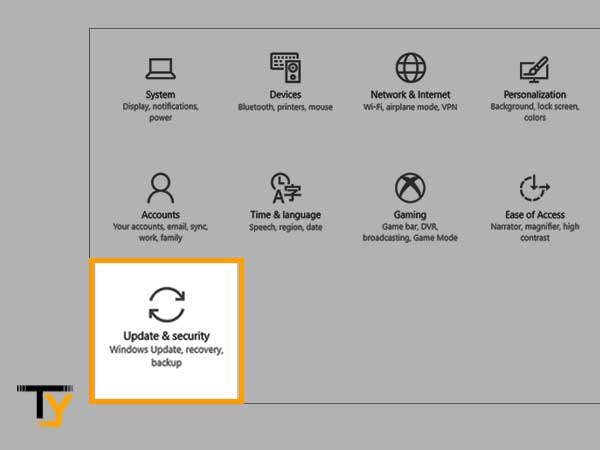
- From the Settings screen, select the Update and Security option.
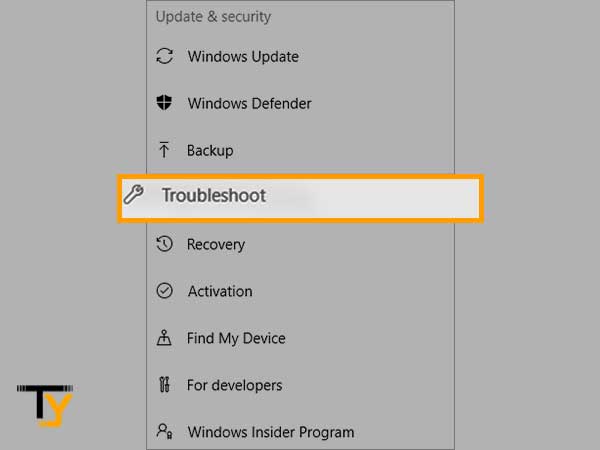
- Now, select the Troubleshoot option from the left sidebar of the next screen.
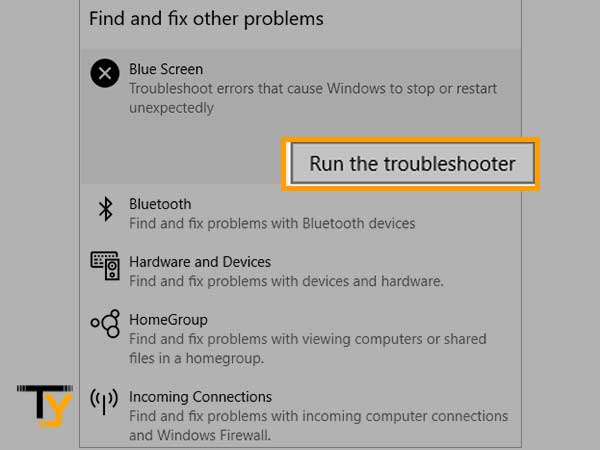
- Click on the Additional Troubleshooters option from the Troubleshoot screen.
- On the next page, click on the Blue Screen section and click on the Run the Troubleshooter button under it.
This will start the troubleshooting, and the error is most likely to be resolved once it is completed.
Method-5: Use Windows Memory Diagnostic Tool
Bad memory of the system, means the corrupted memory slots inside the system, are also one reason for evoking the clock watchdog timeout error. It is possible that your device’s memory is damaged and you didn’t know about it until the error was displayed.
Thus, to diagnose memory problems in your system, Windows Diagnostic Tool is used. If any issue with the memory is found, you are required to contact the device’s manufacturer, as the memory damages are generally due to faulty chips used in the system or due to other hardware issues.
You can undertake the steps stated below to run the Memory Diagnostic Tool:
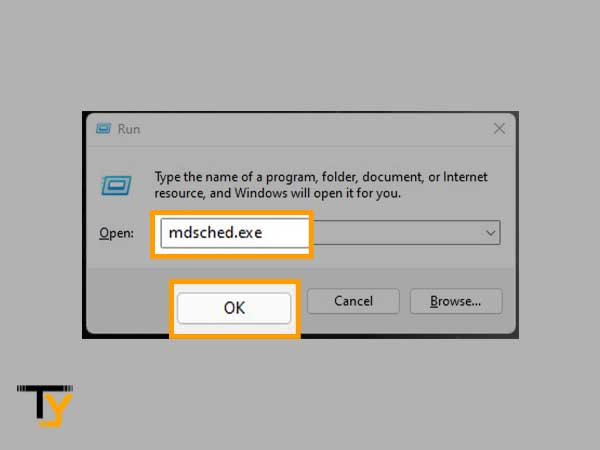
- From the keyboard, press the Windows logo key + R at the same time. Type mdsched.exe in the text box of the Run window and click on the OK button.
- Thereafter, a small window will open, from where you have to select the Restart Now And Check For Problem option.
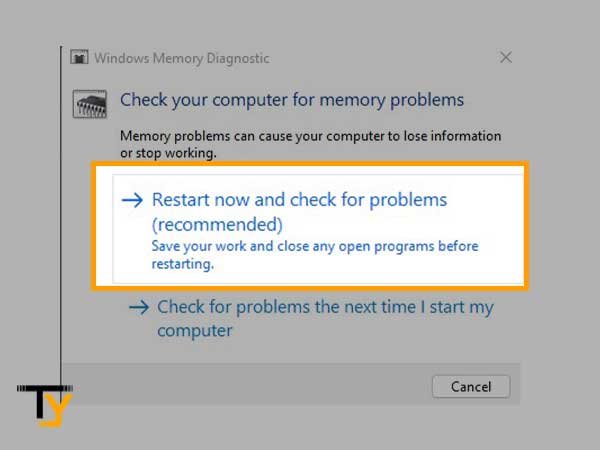
- Once you select this option, the memory diagnosis by the tool will start. After its completion, your PC will restart and the Windows Memory Diagnostic notification will appear, which will show you the scan results.
If there is no bad memory, then this is not the reason for the clock watchdog timeout error.
Method-6: Update BIOS
A BIOS (Basic Input/Output System) update is a complex operation that updates your motherboard’s firmware, allowing you to access new functionality.
However, since an old BIOS version on the system might be one of the major causes of the issue, it is recommended that the user update the BIOS to fix the Clock Watchdog Timeout error. The newest BIOS version may be downloaded from the manufacturer’s website and installed on the machine.
Additionally, before you upgrade the BIOS on your motherboard, be sure you carefully read the documentation for complete instructions. If you don’t do it right, updating your BIOS can be risky, so take additional precautions during the procedure or perform it under expert guidance.
Notes
A computer’s BIOS is a delicate component. Although it is a software component, it is critical to the hardware’s operation and functioning. As a result, you should use extreme caution while altering the BIOS. If you don’t know what you’re doing or how to accomplish it specifically, I would advise you to forgo this solution, and move on to the next method.
Method-7: Reset BIOS Settings
BIOS is an important part of how your hardware works. BIOS assists in the management of the numerous components that make up a contemporary computer, ensuring that devices start in a reliable and consistent manner.
Thus, Clock Watchdog Timeout blue screen error could also be due to the altered BIOS settings. To reset its settings, the following steps can be pursued:
- By clicking the Settings icon in your Start menu, you can get to the Settings screen.
- Select Recovery from the left sidebar after selecting Update & Security from the Settings window.
- Below the Advanced Setup heading, you should notice a Restart now option; select it whenever you’re ready.
- When your computer restarts, a blue screen with advanced troubleshooting options will appear. Select Troubleshoot from there, and then select Advanced Options from the next screen.
- To proceed, choose UEFI Firmware Settings and click on the Restart button.
After following the above steps, your system will restart and load a setup menu, the interface of which may vary according to the device manufacturer. Because of the varying interface, the settings name may differ, therefore, look for something like ‘Load Setup Defaults’ or ‘Load Default Options’. This will then prompt you to choose Yes or No to reset BIOS settings. Choose Yes and the original BIOS settings will be restored. After doing so, Exit from the setup menu.
This should fix the Clock Watchdog Timeout error on your Windows 10. However, if it doesn’t jump to the next solution.
Method-8: Disable CPU Overclocking
In overclocking, the clocking time of the CPU (time taken by CPU to accomplish a task or complete a process) is increased, and so does the speed of your system. Overclocking can be seriously harmful to your system, as it pushes the CPU to perform beyond its defined capabilities, which in turn leads to overheating problems that can damage the hardware.
Therefore, if in the wake of speeding up your system, if you have enabled the CPU overclocking, then this can be a reason for the Clock Watchdog Timeout error to occur. Thus, it is recommended to turn off or disable the overclocking by following the same process by which you have enabled it earlier.
Method-9: Restore Your System to Previous Working State
Windows provides an exceptional feature of restoring the system to the state when the restore was created. It means that, if you have made a ‘system restore point’ in the past (in other words, took a backup of your system’s state at that point of time), then you can restore that state of your system.
This will remove all the drivers, apps, programs and Windows updates from your system that you have downloaded after the restore point was made, and thus, the reason why the Clock Watchdog Timeout error was occurring will also get eliminated. However, in the process, your personal files will remain intact.
Also, you will only be able to carry out the system restore when you have created a restore point earlier in your system. If you haven’t done this before, then this method is not for you. You can try out other methods listed in the article.
Here are the steps to restore your system:
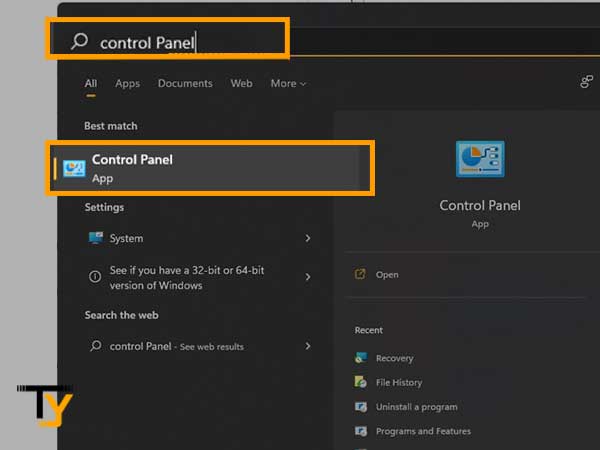
- Click on the Start button from the taskbar and type control panel in the search box. Select Control Panel from the search list.
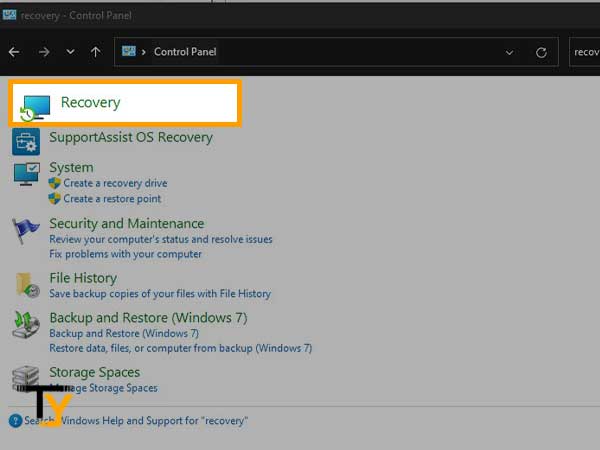
- Now, type recovery in the search box of the Control Panel present in the upper right corner of the window.
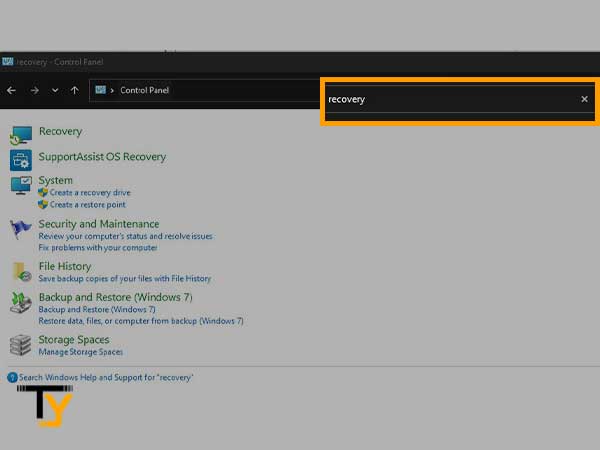
- From the search results, click on the Recovery option.
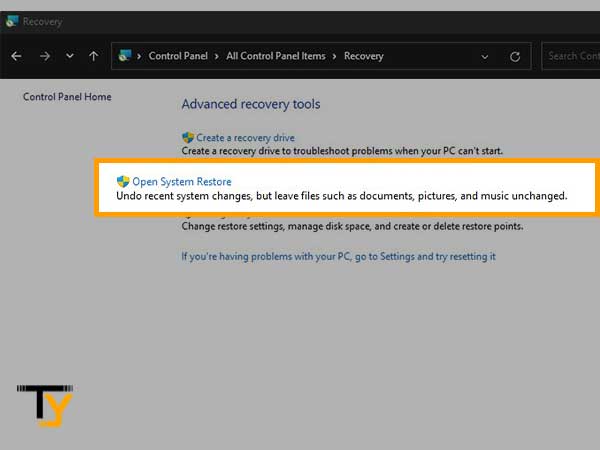
- Advanced Recovery Tools screen will appear, from where you have to select the Open System Restore option, and then click Next.
- Thereafter, select the restore point, click on the Next button and then Finish.
After performing this, your system will be restored to its previous working state when the Clock Watchdog Timeout error never existed, and thus your problem will be fixed.
Method-10: Upgrade Your System’s RAM
One of the main causes of the clock watchdog timeout error is the system’s sluggish performance; because of this, it is recommended that you switch to another RAM or expand the system’s RAM. There are a number of firms that provide high-quality and efficient functioning RAMs that can improve the system’s performance.