Facebook is a really powerful tool when it is about bringing people together from different corners of the world.
Interestingly,
Facebook is the biggest social network with 2.89 billion monthly active users.
Now, that doesn’t mean Facebook is only witnessing a rise in its user base; there are many people who delete their Facebook account every day.
If we agree with Forbes, they have provided 3 reasons for which more people are going to quit Facebook in 2021.
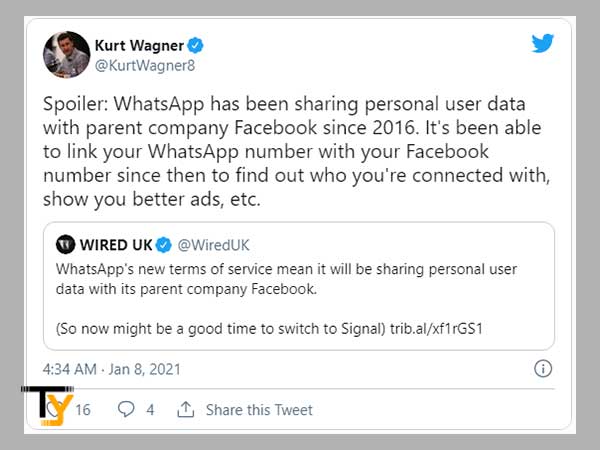
By changing its privacy policies, sharing user’s data, updating its data collection and tracking system, & not responding to customer support requests, Facebook is losing users every day. People are deleting their Facebook accounts when they are not able to understand the policies of Facebook or when they don’t get the desired help & support or when they just lose interest in using Facebook.
| Fact- A 2018 Pew survey of more than 3,400 U.S. Facebook users found that 44 percent of users ages 18 to 29 have deleted the app from their phones in the past year. |
So, If you are one of those looking for help to deactivate or permanently delete your Facebook account, this guide will take you through all the important information regarding the same.
Deactivation and Deletion- What’s the Difference
Before you start following the steps to permanent account deletion or temporary deactivation, make sure you are clear about the difference, as you might change your mind then.
Here in this table, I have listed out all the major differences between the process and their consequences to get more clarity:
| Deactivating Facebook Account | Deleting Facebook Account |
| A temporary process | A permanent action |
| Nobody can search you on Facebook; your profile information will become invisible. | Nobody can search you on Facebook; your profile information will get permanently removed after 30 days. |
| All your friends, posts, images, videos, and interests are retained by Facebook that you can retrieve once you reactivate your account. | Your Facebook data is kept stored for 90 days, after which it is completely removed from the database as well. |
| Your messages will still be there in others’ inbox. | Messages sent to others will still be visible to them; also, the content you have posted publicly in groups will remain on Facebook forever. |
| You can still use Messenger | All the apps linked to your Facebook account get disabled. |
| You can reactivate your account anytime | You cannot recover a deleted Facebook account once it gets permanently deleted. |
Steps to Permanent Facebook Account Deletion
Basically, you get two options- Temporary Deactivation or Permanent Deletion.
Let’s walk through the deletion steps first, and then I will explain to you the temporary deactivation process as well.
Using Desktop Browser
On any browser like Google Chrome:
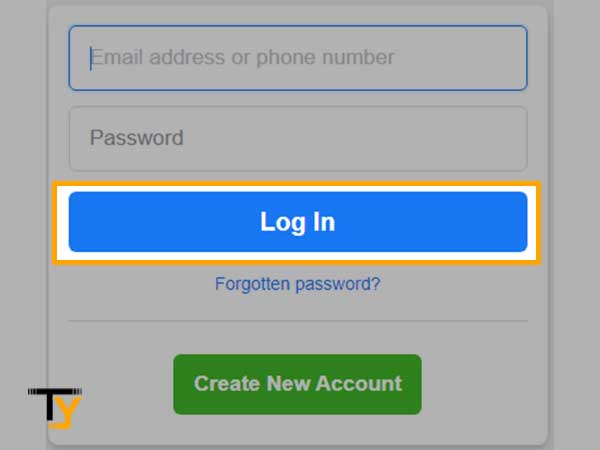
- Go to www.facebook.com and log in to your Facebook account using your email address and password.

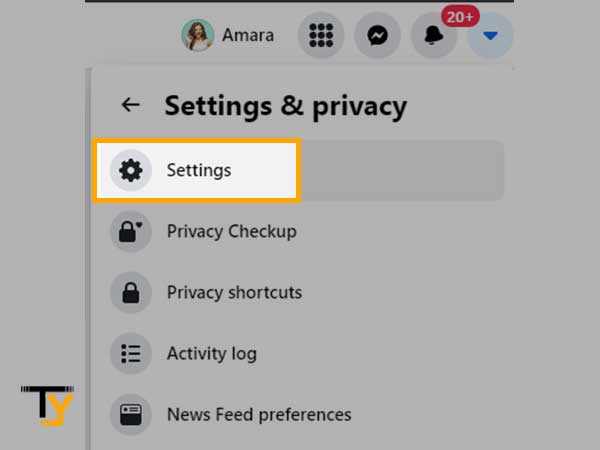
- Click on the drop-down menu icon in the top-right corner of the screen and then go to Settings & Privacy> Settings
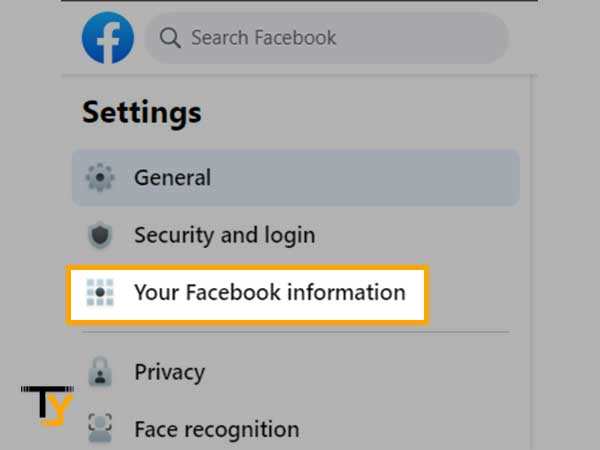
- Click on the ‘Your Facebook Information’ option given on the left column.
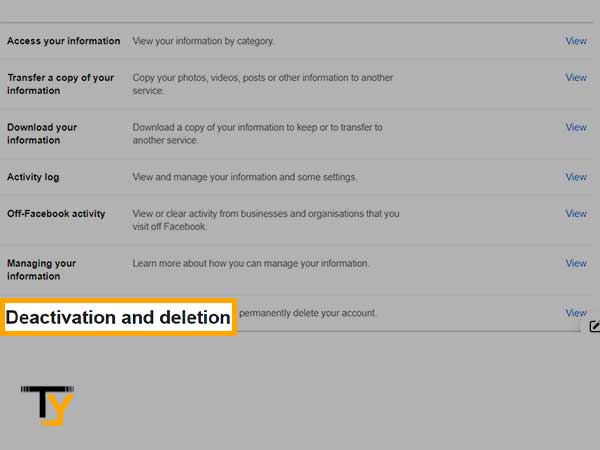
- There at the bottom, you will see the option ‘Deactivation and Deletion’; click on that.
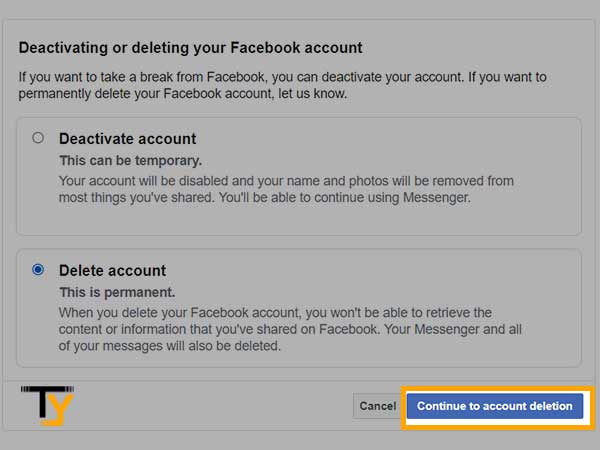
- On the next page, you will be presented with two options:
- Deactivate Account
Deactivation is temporary and this will only disable your account, your name, and photos will get removed from Facebook, but you will still be able to use Messenger. You can get back to the deactivated Facebook account anytime by simply logging in using your email address and password.
- Delete Account
Deletion is permanent and when you delete your Facebook account, you lose access to all the content and information that you have shared on Facebook, including the messages on the Messenger; if the account gets permanently deleted once, there is no way to get it back then.
Once you have selected the ‘Delete Account’ option, click on ‘Continue to account deletion’.
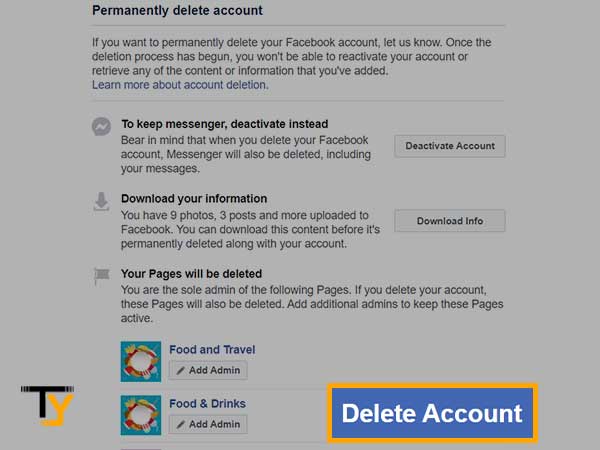
- On the next page, you will get some information regarding account deletion and what will happen if you will go ahead with it.
- If you want to keep your Messenger, make sure to only deactivate your account and not delete it.
- You can also download your entire info before you delete your account.
- All your pages will also get deleted; if you want to keep them running, you must add additional admins before you delete your Facebook account.
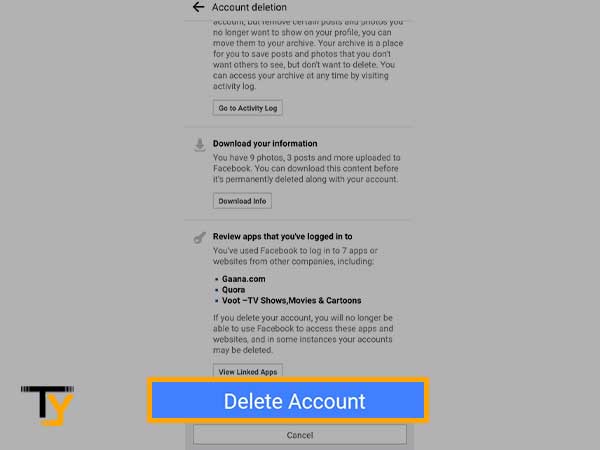
- Once you have done all that, you can go on deleting your account; go on ‘Delete Account’.
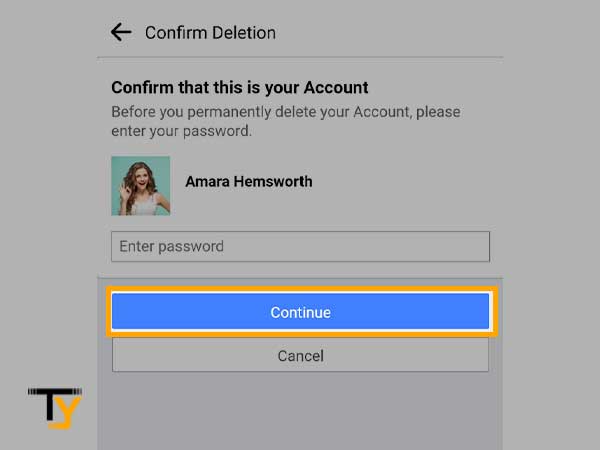
- Enter your password and click ‘Continue’.
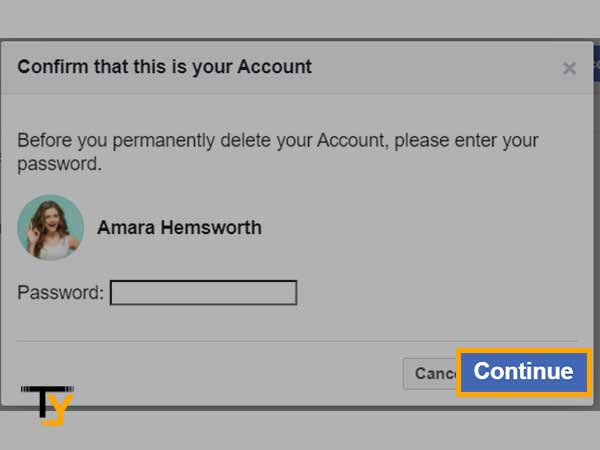
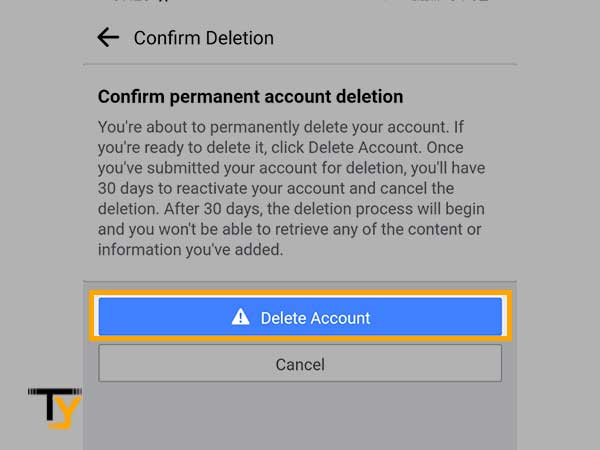
- That’s the last message you get from Facebook; once you click on ‘Delete Account’, your account will be scheduled for permanent deletion, and you will get 30 days from today to reactivate your account and cancel the deletion. Once the 30 days period is over, you no longer will be able to retrieve any information from your Facebook account.

That’s how you can delete your Facebook account on a browser, you can also do it using the app; for that, follow the steps provided in the next section.
Using Facebook Mobile App
To delete your Facebook account using the app, here are the steps you need to follow:
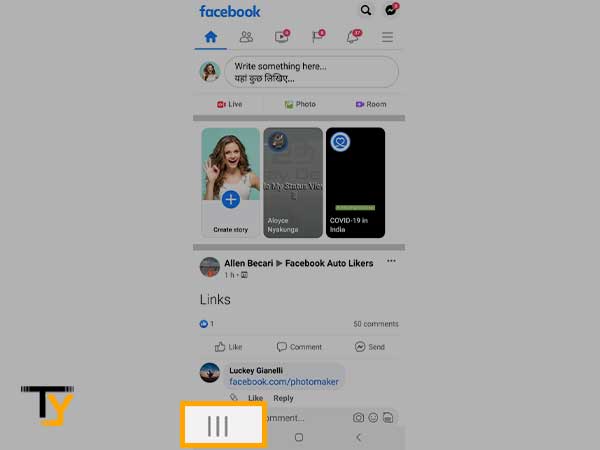
- Open the Facebook app and tap the menu icon (three horizontal lines) placed in the top-right corner of the screen. Make sure you are logged in to your Facebook account.
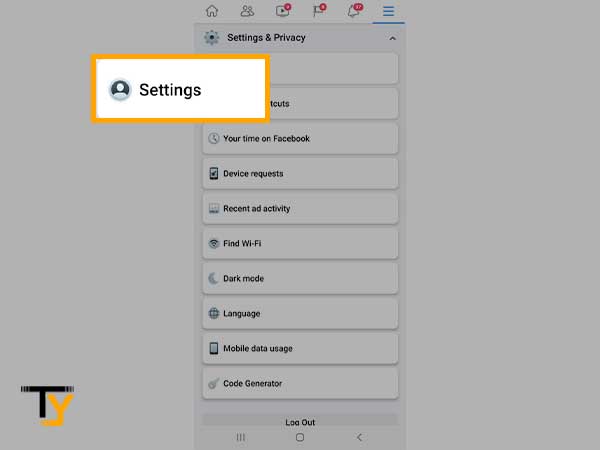
- Scroll down and tap ‘Settings and Privacy’.

- Press the ‘Settings’ option
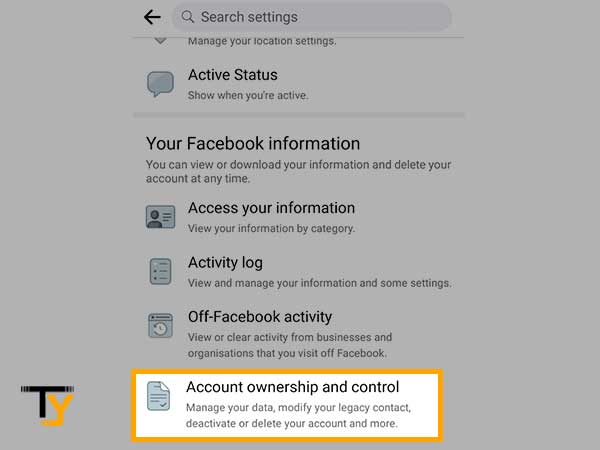
- Scroll down and tap the ‘Account ownership and control’ option under the ‘Your Facebook Information’ section
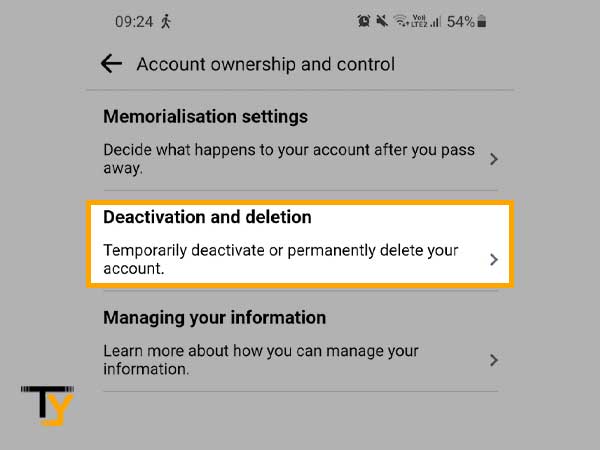
- Tap ‘Deactivation and Deletion’
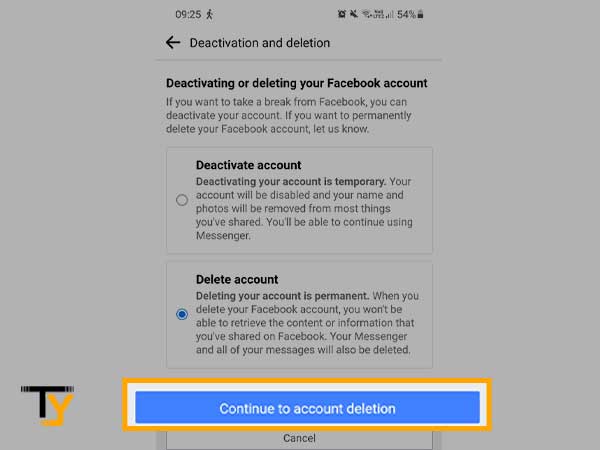
- Select ‘Delete account’ and then tap ‘continue to account deletion’
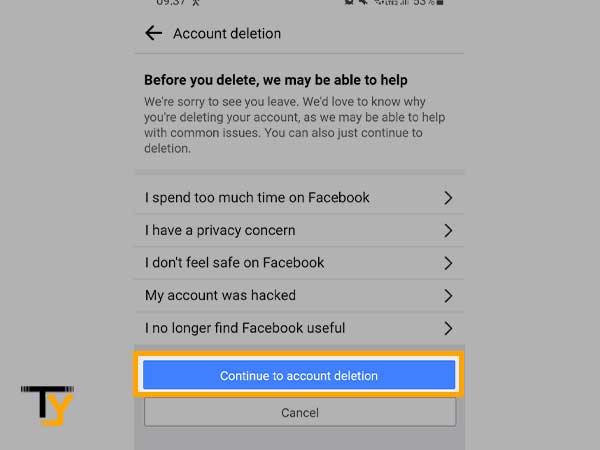
- Select the reason for account deletion and press ‘continue to account deletion’
- Go through the information provided regarding account deletion, i.e., what will happen when you will permanently delete your Facebook account; scroll down to the bottom and press ‘Delete Account’
- Enter your password and press ‘Continue’
- If you are sure of deleting your account after knowing the fact that you will not be able to recover it after 30 days, tap the ‘Delete Account’ button.
That is how you can delete your Facebook account permanently using the mobile app, and it will get completely removed once 30 days are over.
If you have a concern about how to delete a Facebook account permanently immediately, there is no way for that; you will have to wait 30 days, no matter what.
Steps to Temporary Facebook Account Deactivation
Now, if you don’t want to get rid of the messenger or do not want to permanently delete Facebook, you can temporarily disable it, here’s how:
On any browser like Google Chrome:
- Go to www.facebook.com and log in to your Facebook account using your email address and password.
- Click on the drop-down menu icon in the top-right corner of the screen and then go to Settings & Privacy> Settings
- Click on the ‘Your Facebook Information’ option given on the left column.
- There at the bottom, you will see the option ‘Deactivation and Deletion’; click on that.
- Out of the two options, select ‘Deactivate account’ and click on ‘Continue to Account Deactivation’.
- Then, you have to select the reason for deactivating your Facebook account. You can also select ‘Email opt-out’ if you do not want to receive future emails from Facebook. Finally, you can click on the ‘Deactivate’ button to deactivate or disable your Facebook account temporarily.
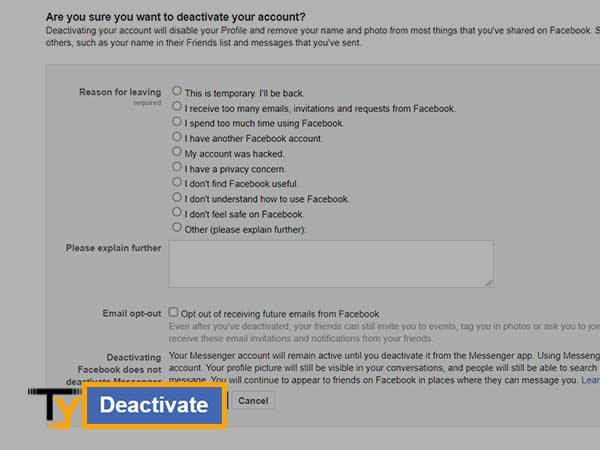
Notes
If you will select ‘This is temporary. I’ll be back’ reason, Facebook will automatically reactivate your account after 7 days. So, make sure you select any other reason or use the FB mobile app for Facebook deactivation.
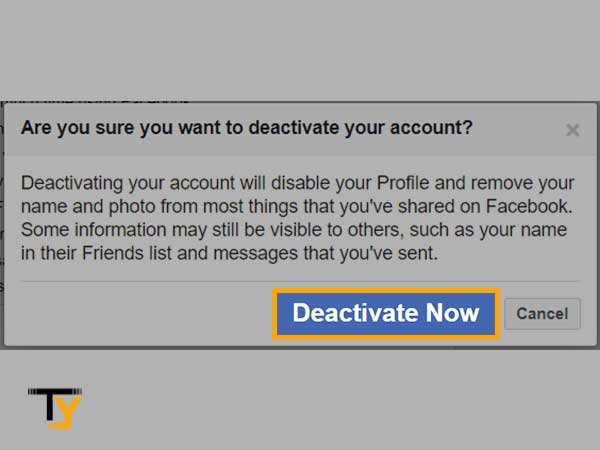
- Again, a final warning will appear; if you are sure of deactivating or closing your Facebook account temporarily, you can click on ‘Deactivate Now’ as the final step.
If you want to know how to reactivate your Facebook account once you have deactivated it or scheduled it for deletion, you can read this blog- How to Recover Deleted and Deactivated Facebook Account?