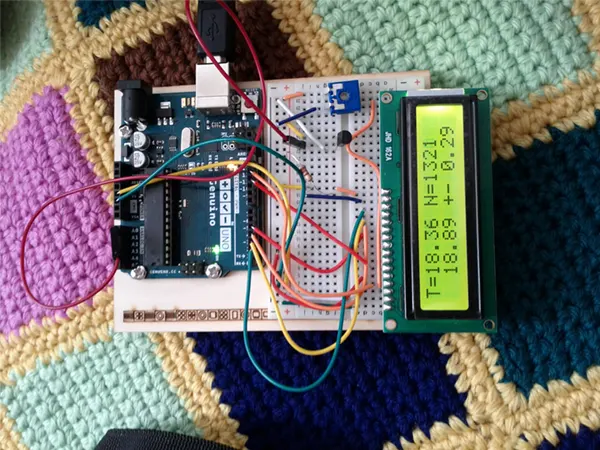
Electronic projects are always fascinating. You can build robots and RC cars following a few simple steps or develop a smart-house solution. From school kids to college students, anyone can make these exciting projects. All you need is a bit of coding knowledge, some accessories, and components, and most significantly, a microcontroller. And if it is your first DIY electronic project, you specifically need an Arduino UNO.
The Arduino UNO is one of the best microcontrollers of all time. It has many other microcontrollers in its arsenal, like the Arduino MEGA or the NANO. However, the UNO is the one that most professionals and amateurs prefer for a simple electronic project. It is small, has fewer technical aspects of learning, and can do almost anything you program it to do.
However, since this is your first DIY project, you might make mistakes. You could even burn one or two components. Hence, before jumping into it, you should know what to expect from the experience and how to efficiently get on with the project.
So to make sure you can recreate your desired Arduino project in the best way possible, here are a few super helpful tips.
Knowing What You Need
Apart from the Arduino, you will need many other components and accessories to build your project. You also require a few tools. The things you must greatly depend on what you are making. Hence, go through the project outline or component list from the tutorial or blog you are using as a reference. Then, list the things you require to build the system, including the tools.
Common components and accessories you require for most projects include breadboards, jumper wires, batteries, resistors, switches, LEDs, sensors, motor drivers, and motors. Tools you might build the project include screwdrivers, multimeters, and glue guns.
Buy a few extra wires, resistors, and LEDs. These are likely to burn out if there is a faulty connection. Be prepared to replace them instantly.
DID YOU KNOW? Arduino Radar: This project uses an ultrasound sensor to detect objects up to 4 meters away.
Prepare a Circuit Schematic
Circuit schematics are blueprints for your electronic project. These visuals will help you draft the system layout. Here, you have to draw all your components and show how you plan on connecting them.
Preparing a circuit schematic is the first technical step in your DIY project making. Without the schema, you cannot work out which connection or component fits where. Complicated projects have complicated schematics. For your simple DIY project, you need not worry about such complications. You should ensure that you are drawing all the connections where they should be.
Making a mistake here means you are likely going to make a mistake when building the actual project. That can damage your components and hamper your progress. So take your time with the circuit schematics. Double-check all the connections before you start building the actual system.
Get Your Schematic and Code Checked by an Expert
Given that it is your first time working with Arduino or on an electronic project, you might not get the schematics or code right on your first try. Even when you are using a reference tutorial, the code or schematic might still need a few tweaks. So to be sure, you can have an expert check it for you.
There are plenty of people online who can help you with the design and the code. However, for expert help, you should use a site like SweetStudy. These sites are mostly assignment and homework assistance platforms. They host professional tutors who are experts in their respective fields.
If you are looking for specific services, you must check out tutor profiles to understand if they can provide what you require. For example, GradeSaver on sweetstudy.com is an expert when speaking of electronics and computer science. So far, she has helped almost 400 students with their homework and assignments. And she will be more than happy to guide you through your Arduino project.
Run a Simulation
Once you get SweetStudy’s GradeSaver to check the schematic, and she has helped you perfect it, you can then work with the simulations. Simulations allow you to double-check the schematics. By running the system through a computer simulation, you can see if or not it works as you intend it to.
Running simulations will allow you to find faults with your project efficiently. Proteus is a very good simulator to use for basic or beginner-level projects.
After completing the simulations, you can then start the final assembly.
Your project should work perfectly if you have followed all the aforementioned tips. You might have to go through a bit of trial and error if you are using sensors. That is mostly because these components require calibration, and it is difficult to do on your first attempt. However, as long as the project works with little to no error, you will be proud of yourself.


