Have you ever come across an error titled Oops, the system encountered a problem error and due to which you won’t be able to access your Gmail account like before?
Then, thank yourself first as you have landed on the right page.
As in today’s article, you will procure the knowledge of Oops the system encountered a problem error, what are the reasons behind its occurrence, and most importantly, how you can fix it.
So, Let’s Get Started!
What is Oops, the System Encountered a Problem Error?
Oops, the System Encountered a Problem Error is basically a Gmail bug that usually occurs when opening messages, moving emails to other folders or deleting old emails. It can arise due to various reasons such as slow internet connection, an abundance of Cache, or corrupted Cookies as well as due to outdated browsers or extensions.
Many users have even lost their Gmail accounts due to the infrequent occurrence of this particular error and missed many significant correspondences to work and business.
So, that’s a quick overview of this frequently occurring error, now let’s check what can be more explanations behind this error.
Explanations Behind Oops the System Encountered a Problem Error
Oops, the System Encountered a Problem Error can come into sight due to several reasons and create hassles for you while accessing emails. Users have reported that they have encountered this error while opening messages, deleting old emails, or moving emails to different folders.
As we have cited above, this particular error can occur because of numerous reasons. Here are some of the probable explanations behind it.
- Poor Internet Connection
- Enabled background Send Lab
- Corrupted Cache and Cookies
- Extensions or Add-ons
- Outdated Browser Version
- Invalid, Broken, or Corrupt Entries
Now, that you are aware of the probable causes due to which this error occurs, let’s head to the main highlight of the topic.
Notable Fixes to Troubleshoot Oops the System Encountered a Problem Error
Oops, the system encountered a problem error is a very common Gmail error that many users have experienced while accessing Gmail. As many users have found it difficult to access their Gmail accounts and even some have lost their respective accounts, we acknowledged this error significantly.
After examining the error and performing comprehensive research, we have found that there is no specific fix for this error.
However, it doesn’t mean that you can’t get rid of this issue, by applying the below-mentioned fixes, you may resolve this error easily and use your Gmail account effortlessly.
So, let’s move ahead and check out each fix one by one.
Fix:1 Opt For Faster Internet Services
We all know very well how a faster internet service will provide you a seamless experience and optimum results. So, it is always a good option before taking any constructive step to check your network connectivity.
As email service providers such as Gmail find it hard to load certain features with slow and unstable internet connections. In such cases, you can call your service provider and upgrade your current internet plan or register a complaint about slow internet speed.
You can also try shifting to Ethernet, wireless, or Wi-Fi connection relying on what you are using currently to check whether the issue is with your internet connection.
Fix:2 Wash Out your Browser’s Cookies, Cache, and History
To enhance the browsing experience, Cookies and caches are found accountable and that’s what they are meant to do. However, sometimes cache and cookies get corrupted and lead you to errors such as Oops the system encountered a problem.
But what are Cache and Cookies? Have you ever wondered?
For your information, what Cache does is, it basically lessens the time that your browser takes to load the pages by collecting the information from the individual pages you visit. So, the next time you redirect to the same page, your browser doesn’t have to put effort into creating database cells and loading page objects.
As far as Cookies are concerned, they are the applications that websites utilize in order to store your browsing information every time you redirect to the website. The whole motive behind this is to personalize your browsing experience including even the ads you see.
So, that’s a short overview of Cache and Cookies, and it was advised to wash them out routinely for a buttery browsing experience. Also, clearing Cache and Cookies can settle down other known issues such as the page not responding error.
We have listed the steps to clear the Cache, Cookies, and History of some of the prominent browsers which the majority of users use for day-to-day browsing.
#Google Chrome
To clear your cookies, cache, and history on chrome, you can simply follow these steps:
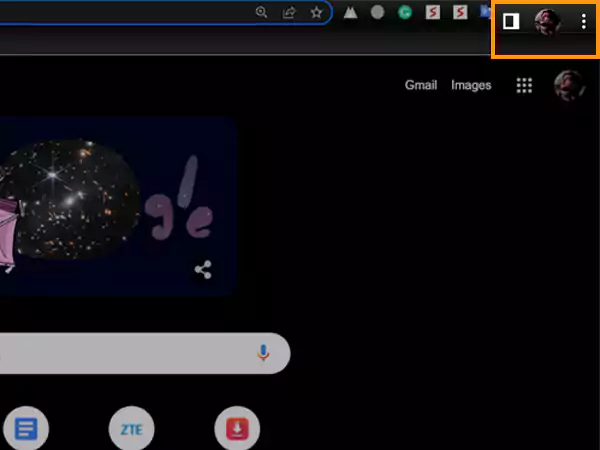
- Simply “open up Google Chrome on your system” and click on the “three dots” which you will notice on the top-right side.
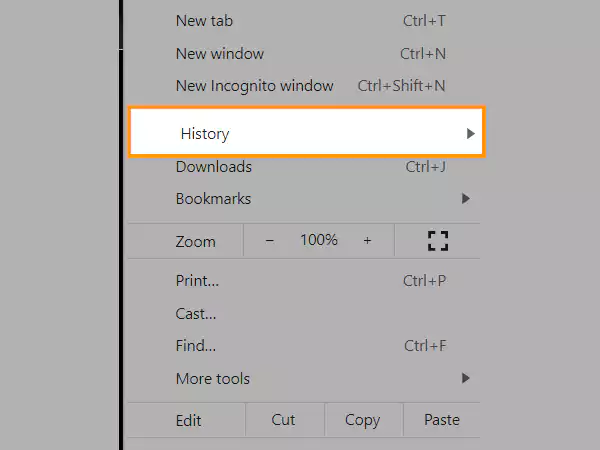
- After that, click on “History”, or you can “press Ctrl+H” and head directly to the History section.
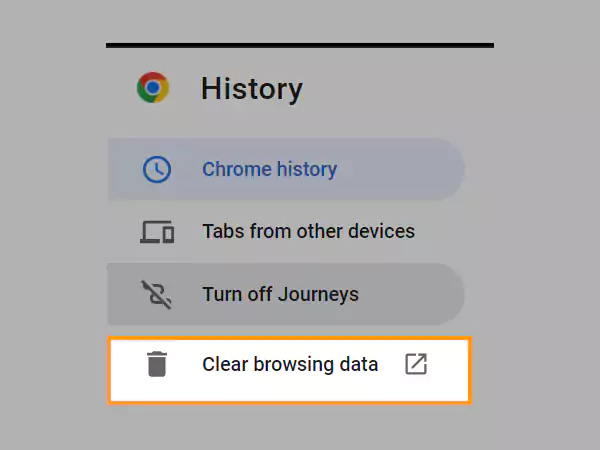
- Next, click on “Clear browsing data” which you will see under “History”.
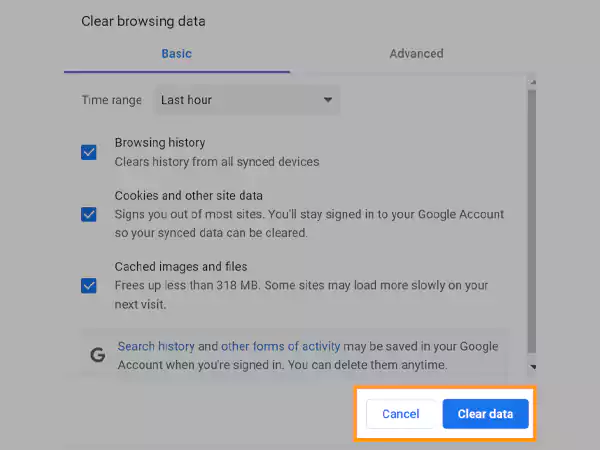
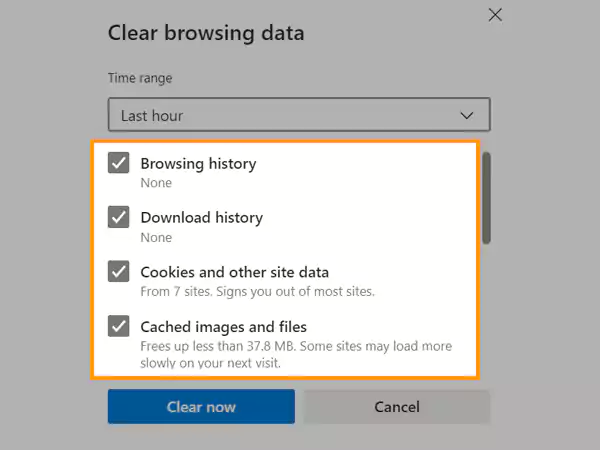
- After clicking on clear browsing history, a mini-window will pop up from where you have to select browsing history, cookies, other data sites, and Cached images and files.
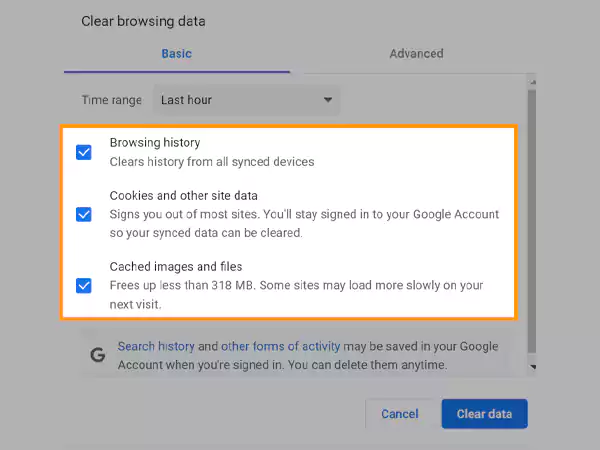
- Next, choose the “time range” and set it to “all time.”
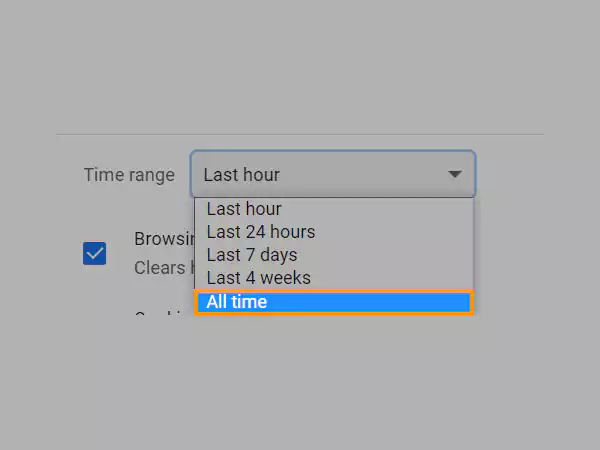
- Now, click on the “clear data”, and after that close all the opened windows.
- Lastly, restart your Google Chrome and log into your Gmail account and check whether the discussed issue has been resolved or not. You can also check out easy Gmail login steps for different devices too.
#Mozilla Firefox
Here are the steps that Mozilla Firefox users can use to delete Cookies, Cache and History.
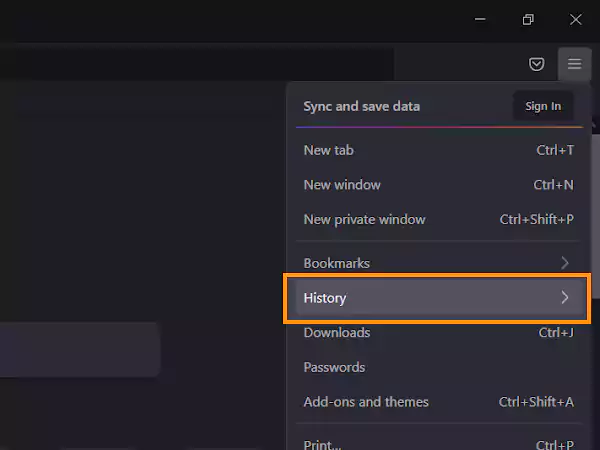
- In order to delete Firefox’s cookies, cache, and history, you have to navigate to the “History” menu.

Alt-text:- Clear Recent History
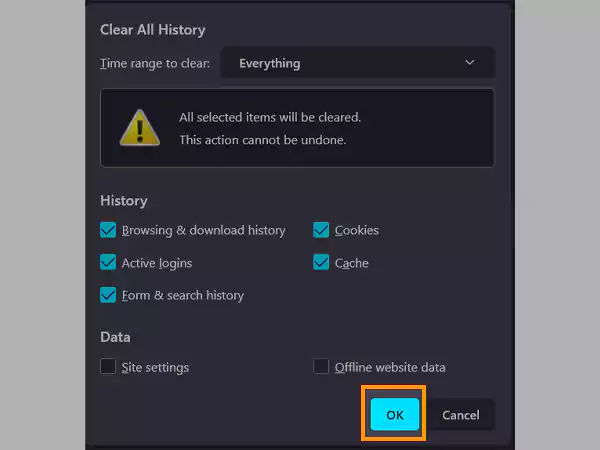
- Now, select “everything” and hit on the down arrow situated next to the details.
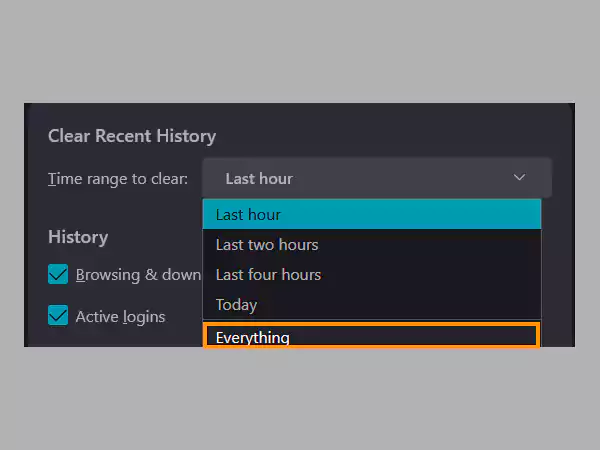
- Next, you have to select the “OK” button, which will clear the Cache, Cookies, and History of your Firefox browser.
- Lastly, reboot the Firefox browser and try accessing your Gmail account.
#Microsoft Edge
These are steps that you can use to wash out Cache, Cookies, and History if you use Microsoft Edge for day-to-day browsing.
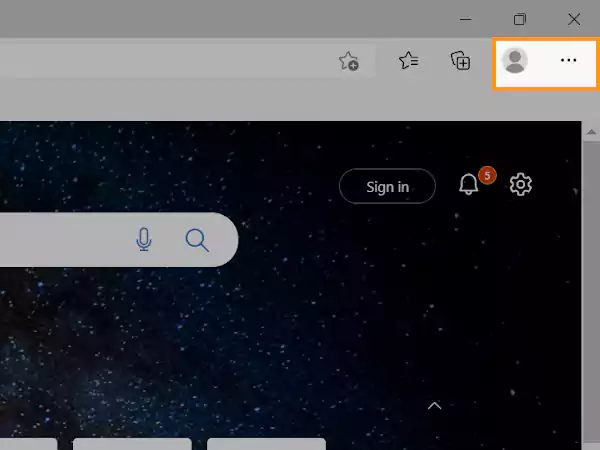
- Begin with “opening the Microsoft Edge browser” and next hit on the” three horizontal lines” which you will see on the top right of the corner.
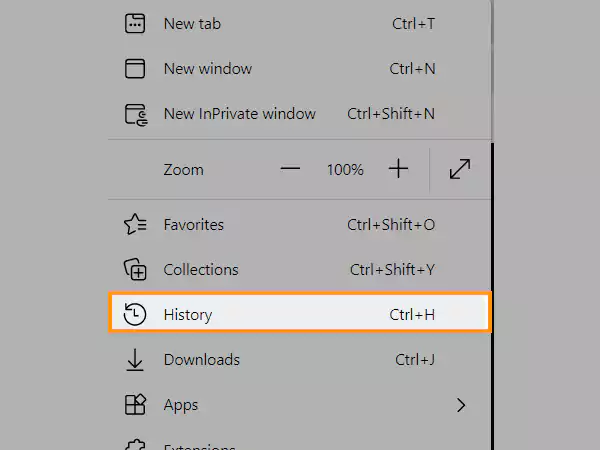
- Next, you have to click on the “clock icon” and select “Clear all History” in the next step.
- After that click on the “three horizontal dots” and next select “Clear browsing data”.
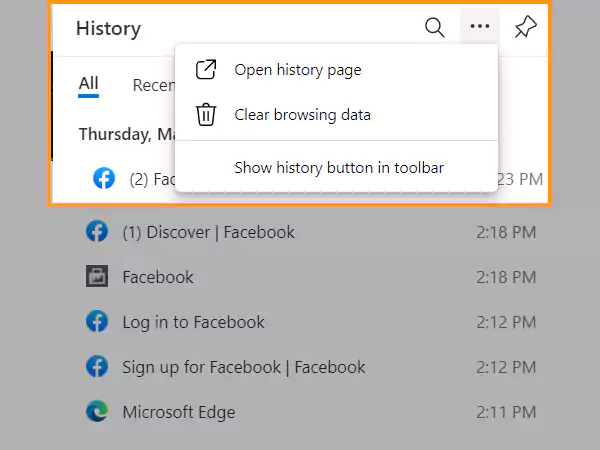
- Now, simply “select Browsing History, Cookies, and saved website data”, and lastly, “cached data and saved files”.
- After selecting the following, select the time range to “All time”, next, click on “Clear now” and shut down the Microsoft Edge browser.

- Now, “launch Microsoft Edge” and look over whether the issue has been settled down or not.
Fix:3 Turn Off or Remove Unwanted Extensions And Add-ons
Turning off or removing unwanted extensions or add-ons is also a captivating alternative or say fix if you’re foreseeing an issue titled Oops the system encountered a problem error.
As in many cases, it has been seen that due to newly added extensions or add-ons,
Such Gmail errors may come into sight. Browser extensions, third-party software, and add-ons may occasionally contradict with other applications and software installed on your system.
So, to know which extension is liable for this error, start by making a list of all the extensions that you have installed around the same time you begin to notice this error and disable them one by one.
You can easily disable the extensions from your browsers by following the steps we have mentioned below for some of the most used browsers by the users.
Google Chrome
If you are a Google Chrome user, you can take the assistance of the below-mentioned steps.
- Simply head to Google Chrome Browser and hit on the “three vertically aligned dots” and this will open up a drop-down menu.
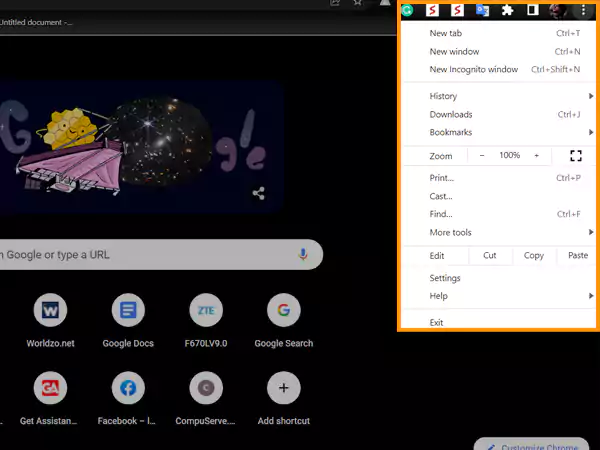
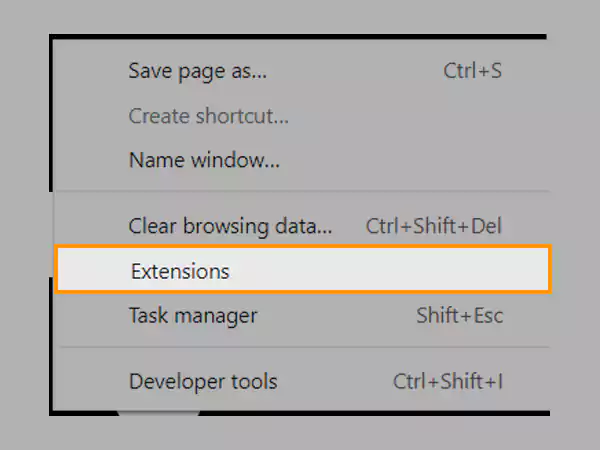
- From the drop-down menu, click on “More Tools and select Extensions”.
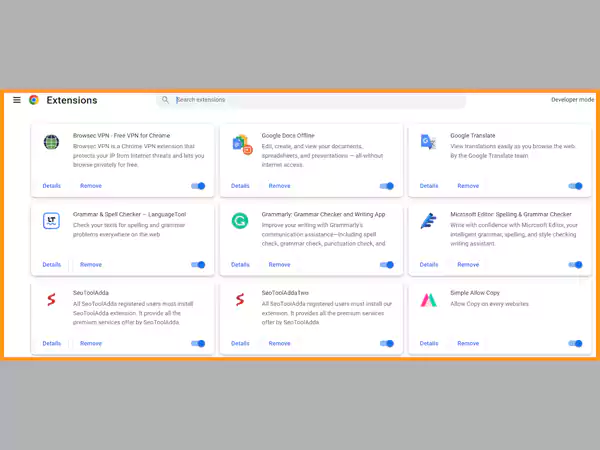
- Lastly, now that you are in the Extension tab, all you have to do is uncheck the box which you will see situated next to Enabled for each extension.
Mozilla Firefox
- Start by opening the Firefox browser and clicking on the “three horizontally aligned lines”
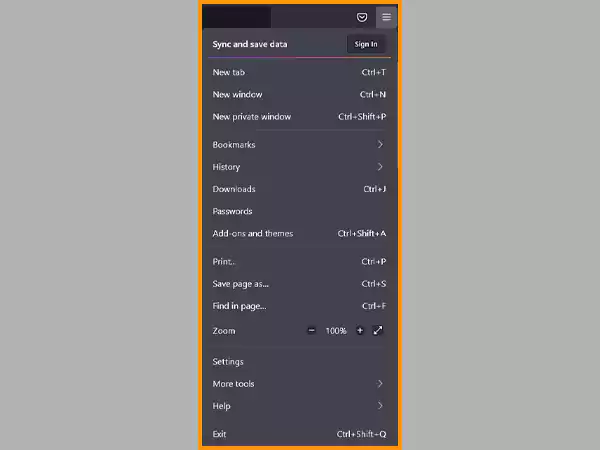
- After that, you have to select “Settings” from the drop-down menu.
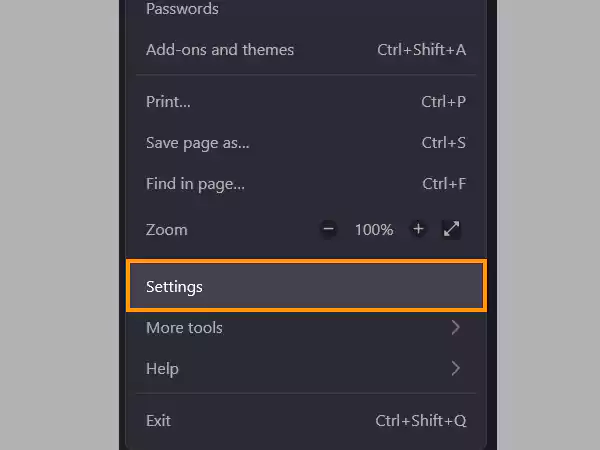
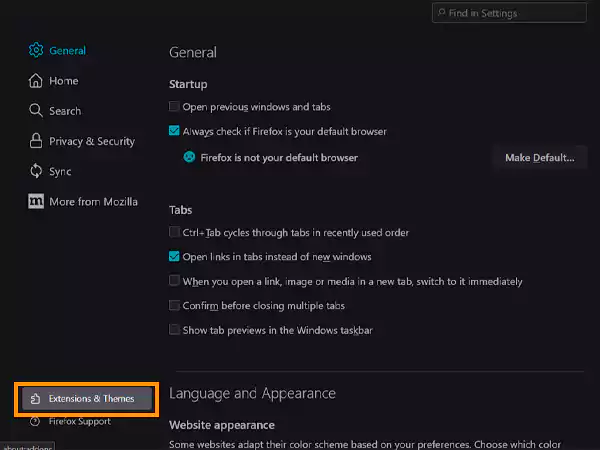
- Once you have reached Settings, all you have to do is click on “Extensions & themes” and then “Extensions”.
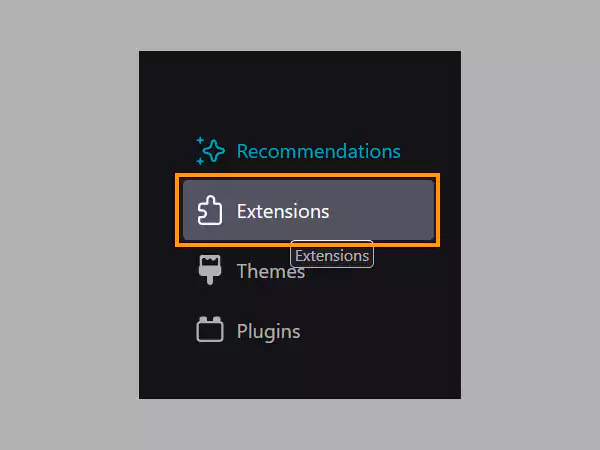
- Now, simply disable the extensions running on your Mozilla Firefox by clicking on the toggle which you will notice on the right-hand side of every extension.
By following these steps, you can easily turn off extensions on Mozilla Firefox.
Microsoft Edge
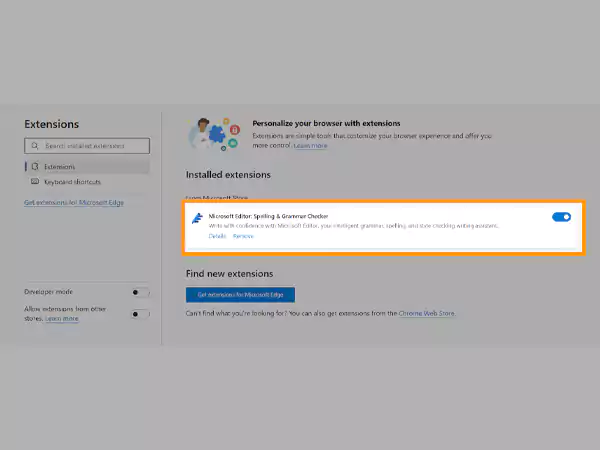
Here are the simple steps that will aid you in disabling unwanted extensions from your Microsoft Edge browser.
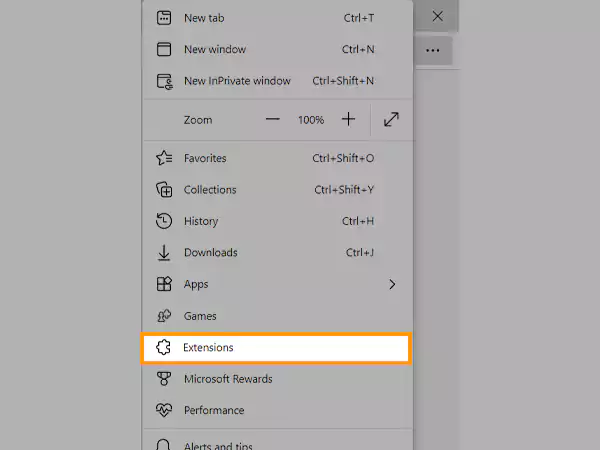
- To disable the extension on Microsoft Edge, launch the Edge browser and hit on the “More button” (three horizontally-aligned dots).
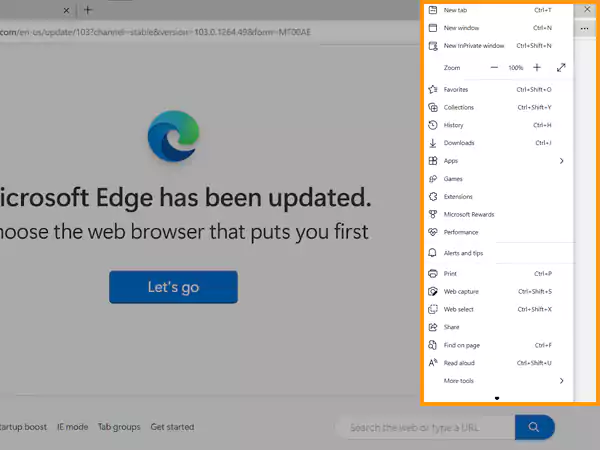
- After clicking on the More button, a drop-down menu will pop up, and now select the “Extensions” option.
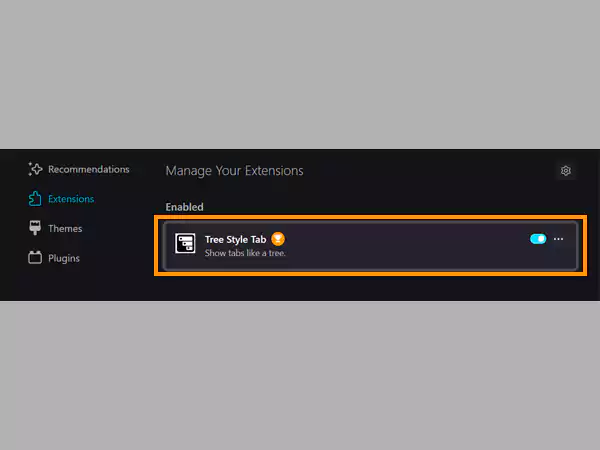
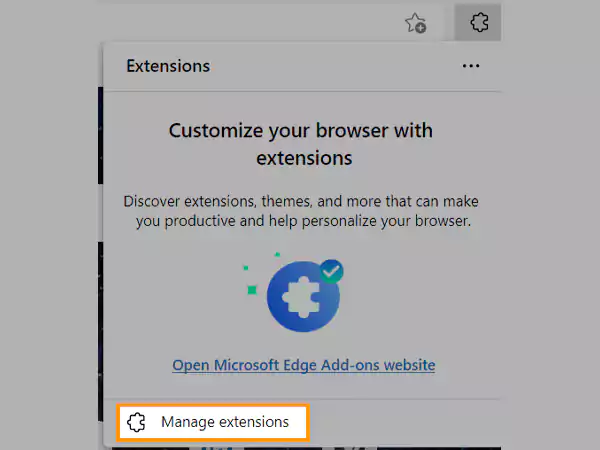
- Now, simply right-click on “Manage extension” and it will redirect you to the next page from where you can simply choose and disable respective extensions.
Fix:4 Check your Browser Version
Yes, your browser version can also be the suspect behind Oops, the system encountered a problem error as using an outdated version of a browser may not function correctly. So, to make sure things flow smoothly, and you will not have to foresee such errors, keep your browser up-to-date.
Checking and updating your preferred browser’s version is one of the easiest chores. All you have to do is follow the below-cited steps, and you will be able to update your browser effortlessly.
Google Chrome
Here are the steps that will assist you in updating Google Chrome.
- To update your Google Chrome browser, start by launching the Google Chrome browser.
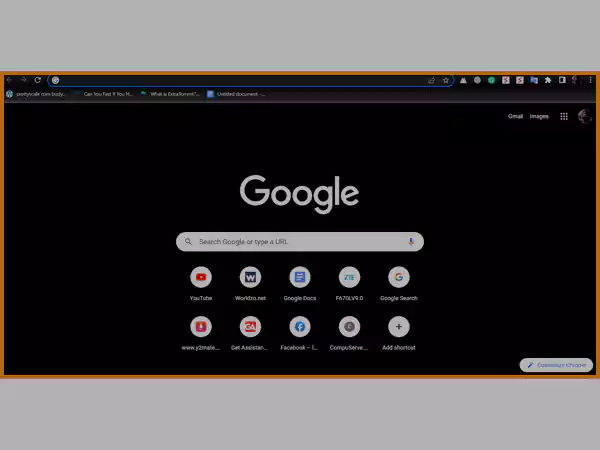
- Next, click on the “Customize and Control Google Chrome button” (three vertically aligned dots).
Alt-text:- Three Dots Menu
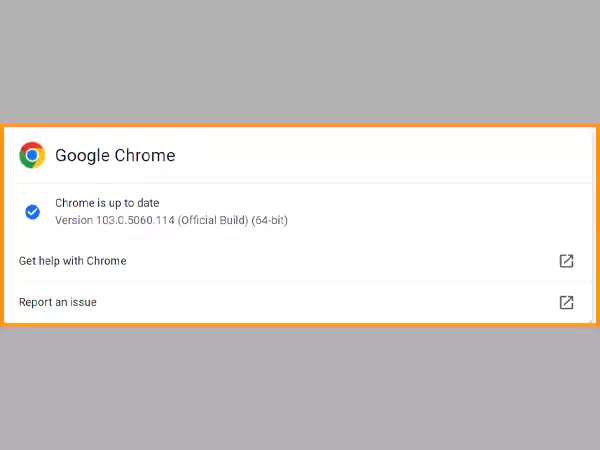
- In this step, you will have to select “Help” and after that head to “About Google Chrome”, and it will automatically check if there is any update available or not.
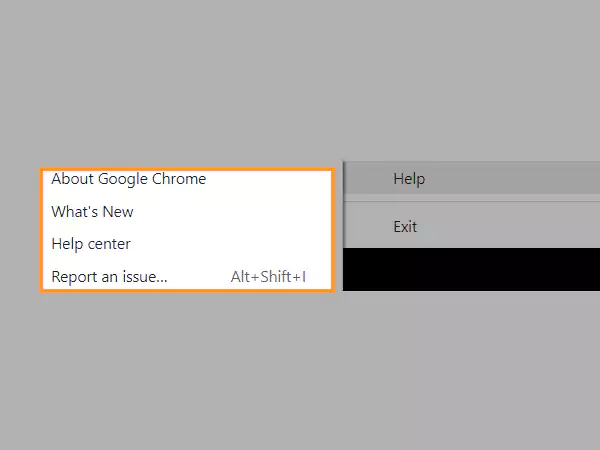
- You will have the option to update Google Chrome if there is any update aired by Google.
Mozilla Firefox
- Initiate with opening the Mozilla Firefox browser on your system, and look for the “Open” menu (three vertically aligned lines) and hit on it.
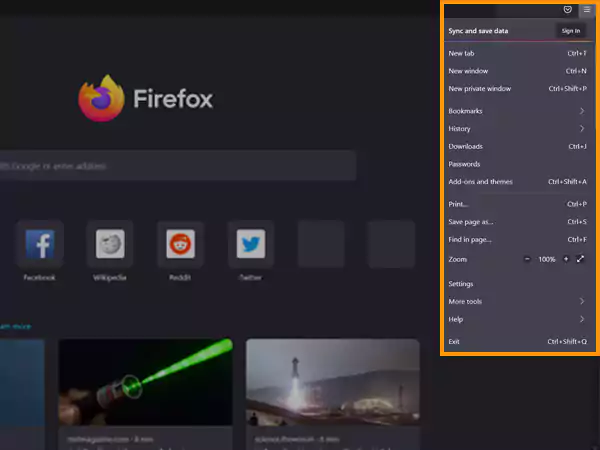
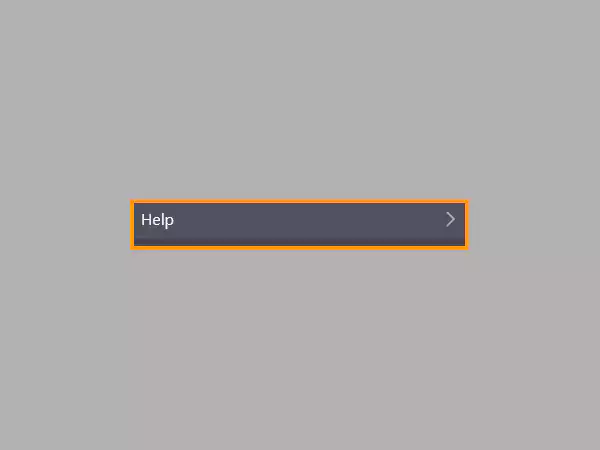
- Next, you have to do is click on the “Help” menu.
- After that choose “About Firefox”.
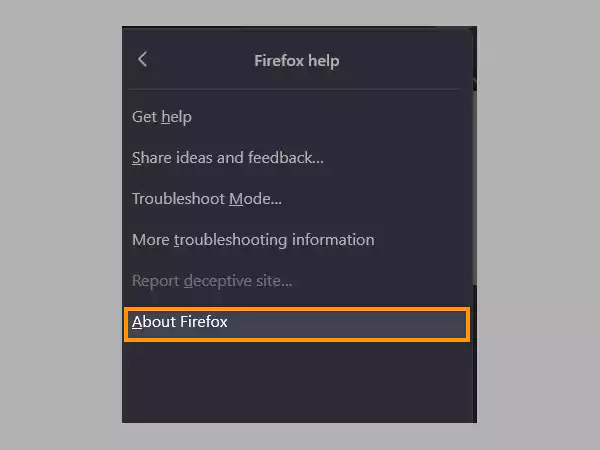
- Similarly, like Google Chrome, Mozilla Firefox will also scan automatically for updates, and you will be able to install them easily after the scan.
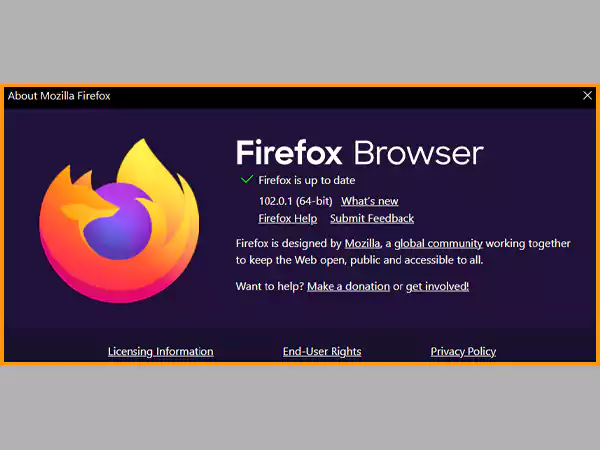
That’s it! By applying these simple steps, you can effortlessly update the Mozilla Firefox browser and may get rid of this gmail problem.
Microsoft Edge
These are the mere steps that you can follow in order to check and update Microsoft Edge.
- First, hit the “Windows key” or click on the “Windows icon”, and the start menu will pop up.
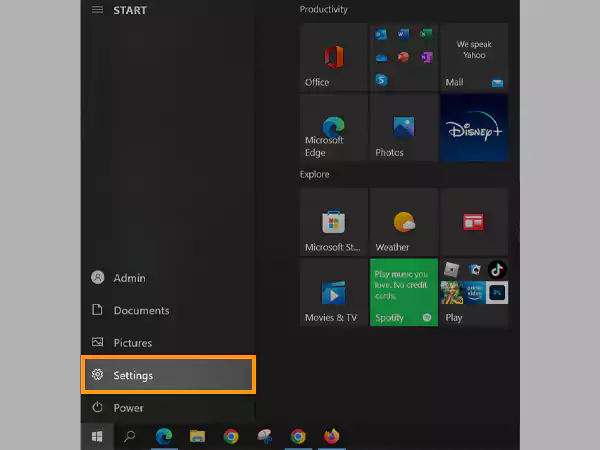
- After that, choose the “gear icon”, and it will open the “Settings” app.
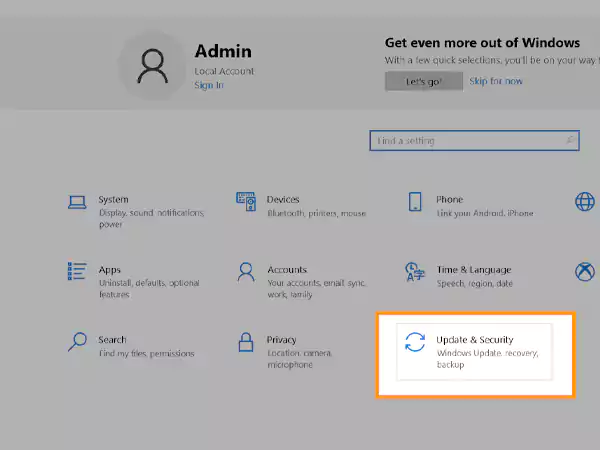
- Now, you have to redirect to the “Update and Security” section and click on it.
- Next, you have to hit on the “Check for Updates” option.
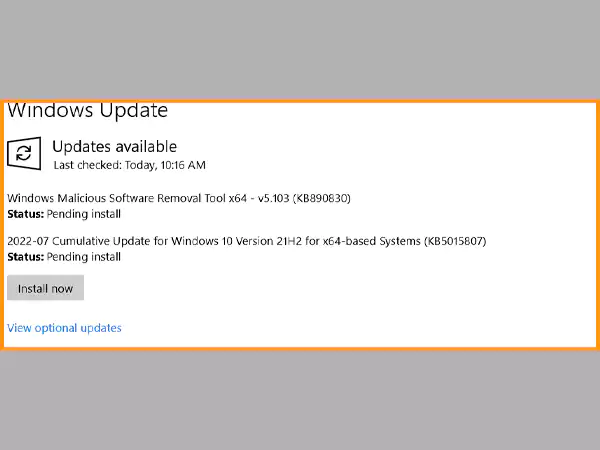
Now, Windows will commence the search for updates online and provide you an option to install them on your system and if there is any update available for Edge, it will be included in the pack.
Fix:5 Disable Internet Security Programs
If you have enabled Internet security programs on your system such as Anti-malware or Ad-blocker, Oops the system encountered a problem error may recur. It has been seen that third-party security programs sometimes conflict with Gmail and create hindrances in accessing it flawlessly.
In this scenario, what you can do is check by disabling internet security programs one by one and examine whether the issue is resolved or not. If it has, optimize the product’s settings or report the issue to the vendor.
Fix:6 Switch-Off Antivirus
As we have said in the above fixes, third-party security programs such as Internet security programs can interfere with Gmail and make accessing Gmail harder for you. This includes Antivirus too.
Yes, the Antivirus you have installed on your system can also be the cause of this error.
So, how can you check whether this culprit is Antivirus or not?
Similarly, as the above fix, you can check easily whether the issue is coming from the Antivirus end or not, by disabling it temporarily. After switching off your Antivirus, try accessing your Gmail account and sending an email or attempt to delete an old email and check if everything is working fine or not.
A fresh instance happened in correspondence to this fix is when many users who have installed Avast Antivirus on their system have reported that due to Avast Antivirus they are facing Gmail issues.
So if you have installed Avast Antivirus on your computer and encountered this Gmail error? Then, you can follow these simple steps to settle this issue.
Steps to Fix Oops the System Encountered a Problem Error (Avast Antivirus)
- First, bring up Avast’s icon main page and navigate to the “Settings” icon which you will notice under your name in the top-right corner.
- Now, hit on the “Settings icon” and a list will come to your sight.
- Next, what you have to do is uncheck the first item which is “Avast Signature”, and done, the issue has been resolved.
Fix:7 Repair the Registry
Have you ever heard of repairing the registry? We believe many of you are still unaware of this fix. With this fix, you can also resolve Oops the system encountered a problem error.
However, the fix comes with the caution of damaging the system, so we strongly advise you to take back up your personal files and move them to a different system or store them in cloud storage. Doing this will keep your data safe and avert permanent data loss.
Basically, if your Windows registry is filled with an abundance of broken, invalid, or corrupt entries, in such case, you might also encounter this highlighted error.
With the help of the best registry tools such as iolo System Mechanic, Restoro, and Outbye PC repair, you can easily get your registry scanned and get it fixed. You can also perform this method manually but as we have said above you may have to move your data or else you may lose your vital data.
Fix:8 Switch-Off Background Send Lab
To help you in resolving this Oops the system encountered a problem error, we have found another great panacea which is disabling Background Send Lab. Many users have claimed that disabling the Background Send lab has aided them in settling down
So there’s no harm in trying this solution as there are probable chances that it may work for you as well.
Come on! Let’s check out the steps that you can follow to disable or say switch off Background Send Lab.
Steps to Switch-Off Background Send Lab
As we have cited above, here are the steps that you can obey in order to switch off the Background Send Lab.
- Begin with accessing your Gmail user account and once you have reached your Gmail main page, look for the “gear” icon which you will find on the top right of the corner, and click on it.
- Next, select “Settings” from the drop-down menu and head to the Labs tab.
- Lastly, navigate to “Background Send” and next all you have to do is to disable it.
After performing these steps, close your browser and open it again and attempt to send an email or moving mails from your inbox to other folders.
And, if you are not receiving an email on Gmail? You can click on the cited link and check out how to settle down Gmail not receiving emails issue.
Fix:9 Shift to HTML Gmail
If all of the above fixes don’t worth your time, you can try out shifting to HTML Gmail which is basically a simplified or say minimal version of Gmail.
As all of the above solutions fail to provide you with optimum outcomes, switching to a minimal version is not a bad idea. However, you have to say goodbye to certain worthy Gmail features for instance:- quick actions, keyboard shortcuts, spell checker, inbox categories, etc.
Steps to Switch to HTML Gmail
- To switch to HTML Gmail, begin by opening your desired browser, and next, all you have to do is input “HTML Gmail” into the search bar, next hit the “Enter key”.
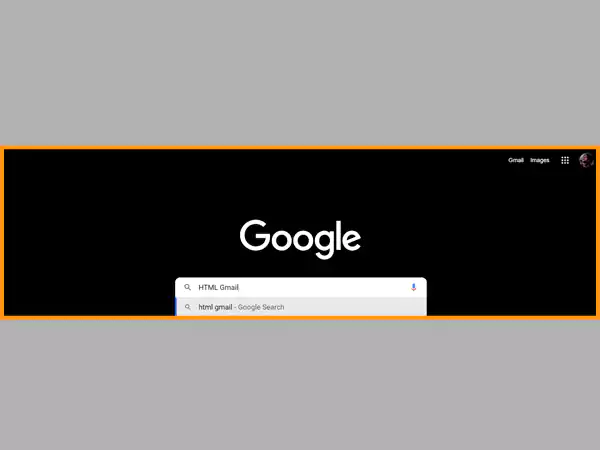
- After that, you will come across the link which will enable you to access HTML Gmail, simply click on it and follow the on-screen directions, and you will be able to Switch to HTML Gmail.
By applying these steps, you may get rid of this frustrating error but have to sacrifice some of Gmail’s essential features such as Inbox categories, spell checkers, etc.
Ending Note
In this article, you have gained an understanding of what is “Oops the system encountered a problem error” and how you fix it easily by trying out different notable fixes.
We again like to clarify that this concerning error can recur due to various reasons and there is no specific fix for this error. So, in order to settle down this error and use Gmail services seamlessly, you have to go through all the fixes and find out which one works for you.
Frequently Asked Questions (FAQs)
Ans: As we have illustrated above this issue can arise due to various reasons.
Following are some probable causes behind this troubling Gmail issue:
- Slow and Unstable Network Connection
- Outdated or Incompatible browser version
- Enabled Background Send Lab
- Corrupted Entries
- Extensions and Add-ons
Ans: As we explained above, there is no specific fix for this error as this issue manifests differently, so in order to resolve this issue, you have to go through various fixes.
Here are some fixes through which you can try out in order to fix this Gmail error.
- Check your Internet Connection
- Switch to HTML Gmail
- Disable Background Send Lab
- Update your Browser Version
- Turn-Off Extensions
- Disable Antivirus temporarily
By applying these there is a possibility that you may get rid of this annoying error.
Ans: HTML Gmail is a minimal version of Gmail that offers a clean interface with limited features. It simply means switching to HTML Gmail may settle down an error, but you may have to compromise with certain useful Gmail features.
Ans: Clearing Cache, Cookies, and History on Google Chrome is very easy, all you have to do is follow the below-quoted steps.
- First, open up “Google Chrome” on your System.
- Next, you have three options to clear Cache, Cookies, and History.
- First, press CTRL+H, and it will redirect you to History.
- Next click on clear browsing data, select a time range and hit on Clear data.
- Click on three vertically aligned dots on the top right of the corner and after that click on History, then again hit on History.
- Next, hit on Clear browsing data, choose time range and click on Clear Data
- Hit on the three vertically aligned dots
- After that click on Settings, and next, hit on Privacy and security
- Now, click on Clear browsing data, and ahead follow the same directions.
Here are the three methods that you can follow in order to wash out the Cache, Cookies, and History of the Google Chrome Browser.