Every modern-day gadget is developed and evolved to make our day-to-day tasks easier. However, a lot more times the reverse of it happens. These gadgets became a pain in the head when we couldn’t get them sorted.
Consider a scenario that you buy a new printer so that you don’t have to rush to a photocopy shop every time you need something printed, but the printer goes on strike and refuses to cooperate, and you end up being unable to install the printer because of a slew of errors that start popping up.
So, if you are dealing with the situation right now and couldn’t install the printer driver, then give this article a shot, and definitely, your problem will be solved.
Method 1: Run Windows’ Printer Troubleshooting
Before moving on to a more complex method to solve the printer installation problem, it is a noble idea to run the printer troubleshooter that Windows provides. The troubleshooter will itself find the problem because of which you are unable to install the printer and fix it then and there. So, here are the steps for doing the same:
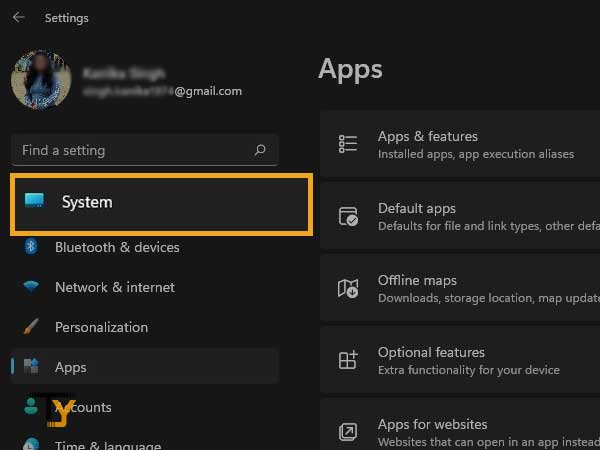
- Open the Settings of your system.
- Select System from the left sidebar.
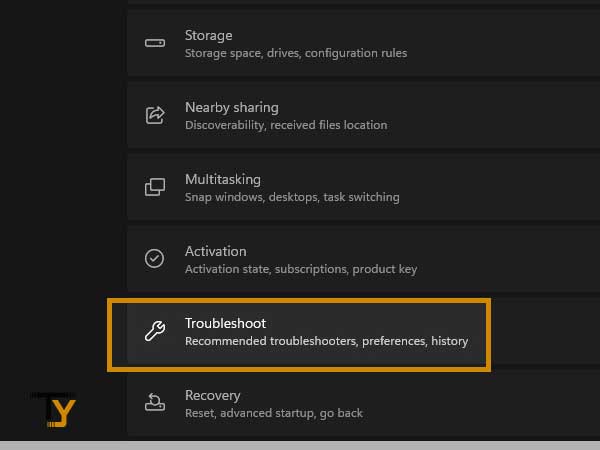
- Then, click on the ‘Troubleshoot’ tab.
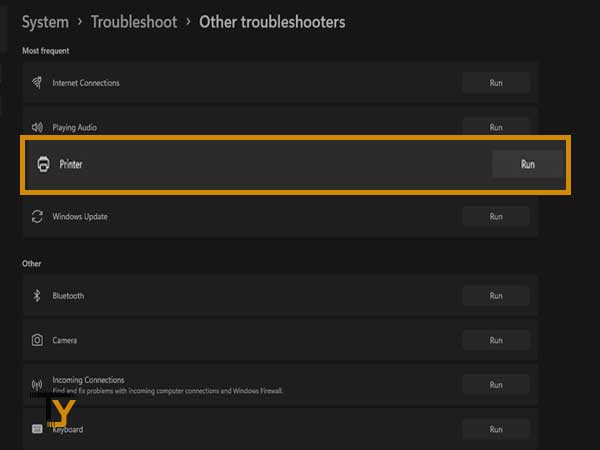
- Select Other Troubleshooter from the next page.

- Click on the Run button adjacent to the printer, and it will start the troubleshooter.
Method 2: Use Clean Boot
Very often it happens that some system programs interfere with the programs of software you are trying to install. The same can be the case here, because of which you can come across the error stating ‘The selected printer could not be found’ or ‘operation could not be completed’.
To resolve this issue, you can clean boot your computer so that it only utilizes the drivers and software that it requires. Following are the steps to use a clean boot:
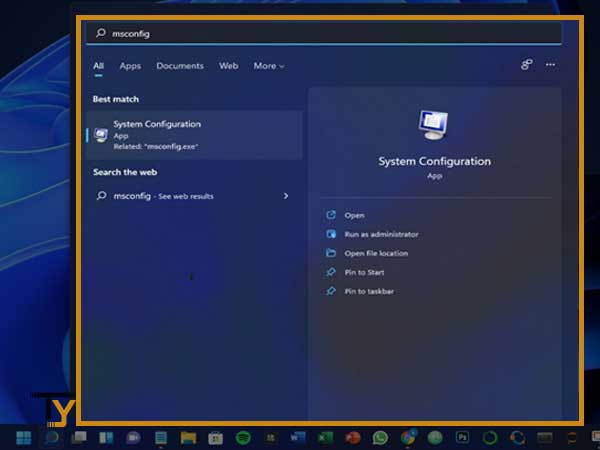
- Open the Start menu, type msconfig in the search bar, and hit Enter from the keyboard.
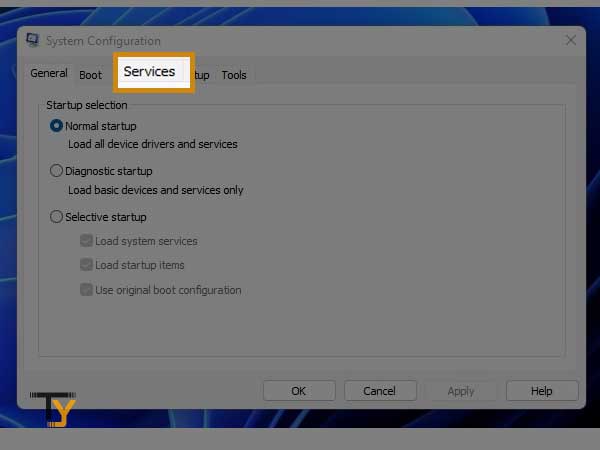
- Now, go to the Services tab within the window that opens.
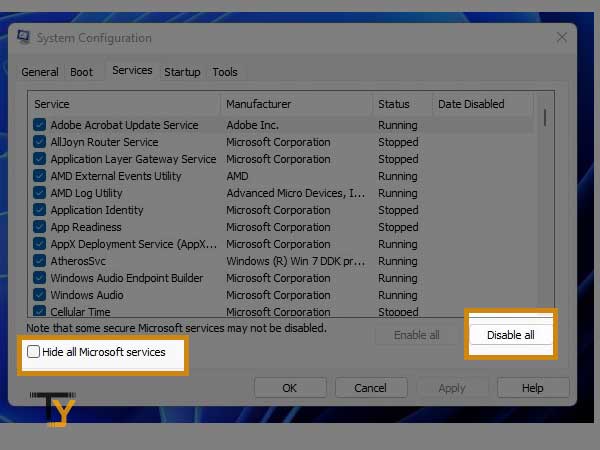
- Select the ‘Hide all Microsoft services’ option and click on the Disable all button.
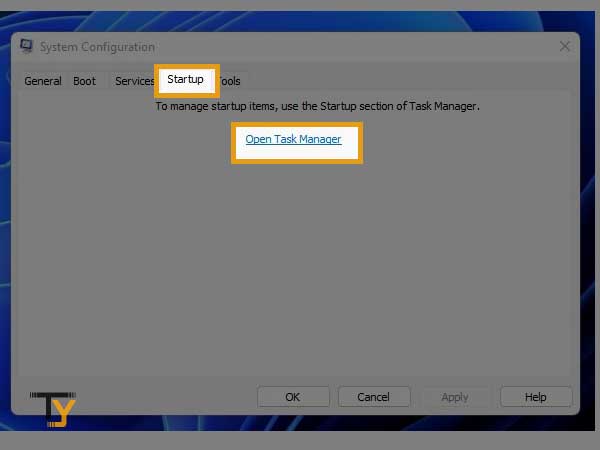
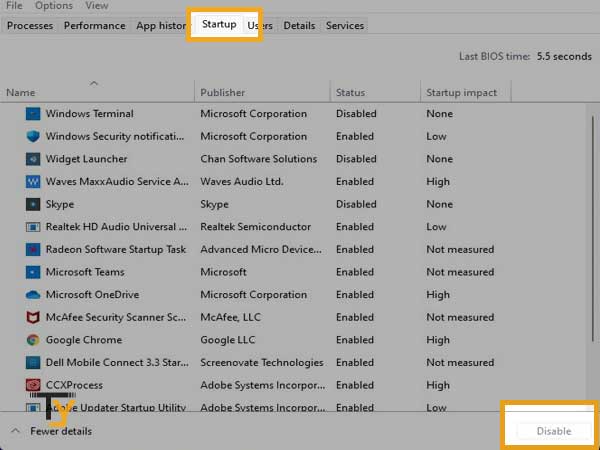
- Go to the Startup tab and click on the ‘Open Task Manager’ option.
- Select all the items under the Startup tab inside Task Manager and click on the Disable button.
- At last, restart your system.
Method 3: Ensure that the Windows installer service is running
While installing a new printer, if you can’t install a printer driver, then the most probable reason for the same can be that your Windows installer service might not be working.
However, if you find that the service is running, then restart it. Here are the steps to take:
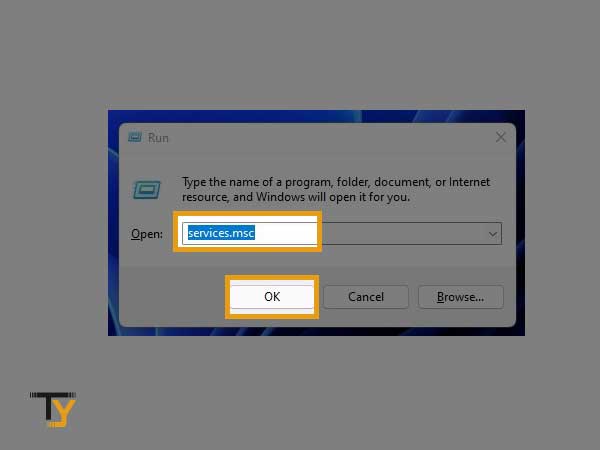
- Press Windows + R keys from the keyboard at the same time.
- Type Services.msc in the text box visible and press Enter key.
- Now, the Services window will open up, where the services will be listed alphabetically. There, you have to scroll down to the W letter and find Windows Installer.
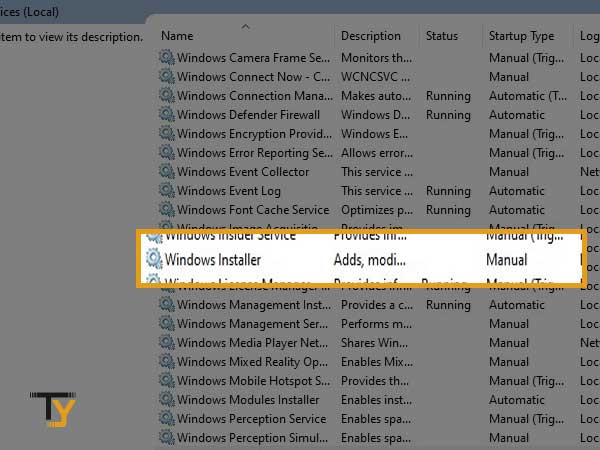
- If the Windows Installer service is running (check its Status), then right-click on it and select the Refresh option from the context menu that appears. However, if it is not running, then move on to the next step.
- If the Windows Installer service is not running, double-click on it and a small window will appear. Click on the Start button under the Service Status section and change the Startup type to Automatic.
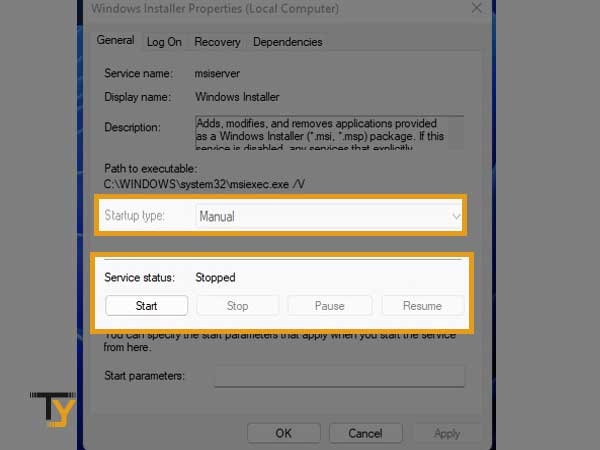
- At last, click OK to make sure that the changes are saved.
Method 4: Enable Printer Spooler Service
Printer spooler service is necessary for a printer to operate properly, and if it is running just fine, then you do not have to face the printer’s tantrums. Therefore, it is necessary that the Printer Spooler Service is enabled in your system, and if it is turned off, make sure you turn it on back. Following are the steps for doing so:
- Press Windows + R key from the keyboard, which will open the Run window.
- Enter Services.msc in the text box available and click the OK button.
- The Services window will open up. There, you have to scroll down and find the Printer Spooler service in the list.
- Check if it’s running by looking up the Status section. If the service is running, then click on it and select Refresh from the context menu. If the service is not running, then head to the next step.
- Now, in order to start the service, double-click on it. It will open its Properties window.
- There, change its Service Status to Start by clicking on its button and change the Startup Type to Automatic.
- Click OK to save the changes.
- After doing so, restart your PC and try installing the printer. If you are still unable to install the printer, then move to the next method.
Method 5: Delete Printer Keys
If you are not able to install the printer driver or come across an error that directs you that your printer driver is not installed, then do not worry, this is the right solution for you. Printer driver problems usually occur when you have installed the wrong driver or an outdated version of it.
And this leads to the ‘operation could not be completed error 0x00000bc4’ issue.
Nevertheless, this issue can be easily solved by deleting the printer keys and then again interesting them into your system. Stated down below are the steps to be followed:
Notes
It is advised to take a backup of the Windows registry of your computer by creating a restore point before moving on to the process. Though there are very slight chances that the process can delete your files, it’s just to be on a safer side.
- First, you have to start your computer in safe mode.
- Delete all the files from the following two locations in your system:
- C:WindowsSystem32SpoolPrinters
- C:WindowsSystem32SpoolDriversw32x86
- Press Windows key and R from the keyboard at the same time.
- The Run window will open. Now to open the registry, type Regedit in it and click on the OK button.
- Thereafter, you have to find the below-listed registry key:
- For 32-bit systems: HKEY_LOCAL_MACHINESYSTEMCurrentControlSetControlPrintEnvironmentsWindows NT x86
- For 64-bit systems: HKEY_LOCAL_MACHINESYSTEMCurrentControlSetControlPrintEnvironmentsWindows x64
- Only the Driver and Print Processors subkeys should be there. If there are more, delete them all.
- Now, delete all the printer driver entries within the Version-x (x can be any number) subkey by expanding it.
- Then, find the registry key stated as below:
- HKEY_LOCAL_MACHINESYSTEMCurrentControlSetControlPrintMonitors
- Again, you have to delete all the subkeys present there, just leaving the below-listed untouched:
- BJ Language Monitor
- Local Port
- PJL Language Monitor
- Standard TCP/IP Port
- USB Monitor
- Check if the Print Spooler service is running or not. If it’s not running, then start the service. In order to do the same, you can follow the steps mentioned in Method 2.
- Once the spooler service is set to automatic mode, reboot your system. Now, again, try installing a printer driver.
Method 6: Ensure All Printer Process Files are Intact
Another reason for your printer to fail installation on Windows 10 or any version of it, is that there might be some printer process files that are missing.
In such a scenario, you don’t have to reinstall the entire system; all you have to do is copy the necessary files from the PC that isn’t having this issue, and you’re ready to go.
The steps listed below will tell you exactly what you need to do:
- Open Services by typing services.msc in the Run window, which will appear by pressing Windows key + R from the keyboard at the same time.
- Then, inside the Services window, find the Print Spooler service and stop it. Take assistance from Method 2 to do so.
- Now, from the location listed under here, copy all the files from a PC that do not have any problem with the printer working, and paste these files at the same location inside the PC that is facing the printer issues:
- C:WindowsSystem32spoolprtprocsx64
Once all the files are copied, a registry needs to be created for those files. You need not worry about it, just follow the steps stated below:
- Again, in the system that is having no issues with the printer, open the Run window and type Regedit to open the Registry Editor.
- Then, go to the following location:
- HKEY_LOCAL_MACHINESYSTEMCURRENTCONTROLSETCONTROLPRINTENVIRONMENTSWINDOWS X64PRINT PROCESSORS
- Right-click on the Print Processors folder and select Export and save all the registry files on an external hard drive.
- Now, on the system having problems with the printer, go to the Registry Editor.
- Go to the same path as directed in step 2.
- At last, navigate to File and then select Import and then import all the registry files that you saved on the external drive.
Bonus Tip: Time to get a new printer!
If none of the previous solutions worked to solve your printer problem, it’s time to get a new one, especially if you’re still using an old one.
Furthermore, if you are using Windows 10 and experiencing printer installation issues, it is possible that you are utilizing obsolete printer versions that are no longer compatible with modern-day computers.
Therefore, get in touch with some computer hardware experts and get things sorted.