Node.js is a technology used by many big brands like Django Development Company to develop games and other utility applications. Node.js allows developers to create high-performing and scalable apps in a variety of genres. If you also plan to exhibit your talent in this field, this post can be a great help. Here you will learn how to develop a Node.js app with Visual Studio Code.
Well, for app development, a perfect technology stack plays a crucial role. So, when you hire a Node.js developer, you need to be aware of the basic technology stack for app development. If you want to develop an app on your own, then you also have to be careful while selecting tools and technologies.
Node.js is the most sought-after technology and is favored by many businesses and enterprises. Before proceeding with the development process, let’s take an insight into what Node.js actually is.
What is Node.js?
Node.js is a free and open-source server environment. It runs on many platforms like Linux, Unix, Windows, Mac OS X, etc. It is an effective technology to develop dynamic content for apps. Many people think that this is a framework, but in real, it is a JavaScript-based run-time environment. Developers can execute codes on the server side using Node.js.
Originally, JavaScript or Node.js was specifically developed to be interpreted, compiled, and run on web browsers. But in a later period, there was the introduction of a new engine. Google Chrome V8 JavaScript engine makes an application more efficient and lightweight. And what’s better, it can be executed both within or outside a browser.
While developing games it acts as a full-stack (both frontend and backend) development technology. Whereas, in the cases of other applications, Node.js is preferred while developing the backend part of the software. This technology comes in various versions and is supported by multiple IDE platforms.
One of the most widely used platforms to develop software using JavaScript is Visual Studio Code. Let’s get to a little about this IDE before we get started working.
What is Visual Studio?
Visual Studio is the most comprehensive IDE for app development. It is suitable with not only Node.js but also other used languages for developing applications, such as .NET and C++ programming languages. A Node.js development company uses Visual Studio to code, edit, debug, and publish apps. It contains compilers, code completion tools, and many other features for effective app development.
Visual Studio comes with a huge library of extensions that can be easily downloaded when needed. It supports most of the programming languages that exist in the world now, such as the new R and the rare Rust and PHP.
With an easy-to-use interface and simple layout, it allows the developers to quickly browse through multiple tabs and work on multiple files at once. Moreover, Visual Studio Code is both an interpreter and compiler, i.e., it can fully work with a compiled language like C or an interpreted language like Python.
Steps to Develop a Node.js Application with Visual Studio
To build a Node.js application with Visual Studio, you have to set up an environment in which you can code, edit, and use Node.js programming language and at the end publish it. Here are the steps to follow for Node.js Application development.
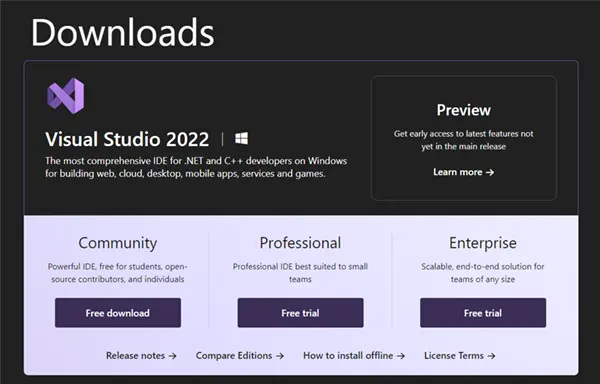
Step 1. Install Visual Studio. You can download it for free from Visual Studio Downloads. Make sure to download the latest version of the application to access most features.
Step 2. As the download completes, install the application and run it on your device.
Step 3. Go to the Tools section and select Get Tools and Features. From the installer, select the Node.js development workload.
Step 4. You must select “Modify” to download and install the workload here.
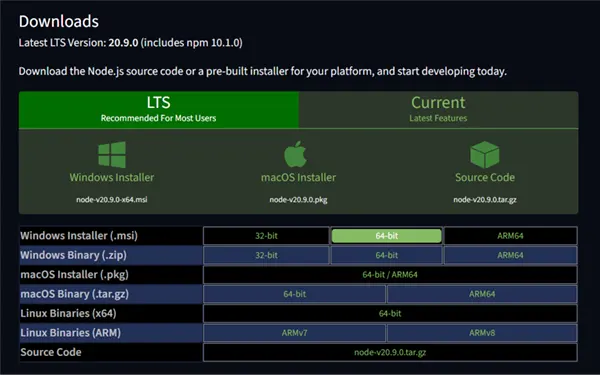
Step 5. The next step is installing the Node.js runtime on your device. You can install the LTS version by visiting the official site of Node.js. It comes in both 32-bit and 64-bit architecture, thus, you have to download the correct version as per your device specifications.
Step 6. Usually, Visual Studio Code automatically detects the runtime environment. But, in case it doesn’t, you can always configure your project by the following steps.
- Right-click on “Project Node” after you are done creating a project. Now select “Properties”.
- Now you have to set the Node.exe path from the Properties Pane to reference the local and global installation of Node.js projects.
- Don’t forget to specify the path for your Node.js project. As it makes accessibility easy.
Step 7. Now you can code and send different responses based on the URL.
This way you can develop a Node.js app with the help of Microsoft Visual Studio. You need to follow a few more steps to publish the app. Many times, even after completing the app, you need to upgrade it to make some much-needed changes in the structure. So, yes, application development is not a one-time process. It requires changes in a particular period. You can go through the software testing process to find out the weak points in your software.
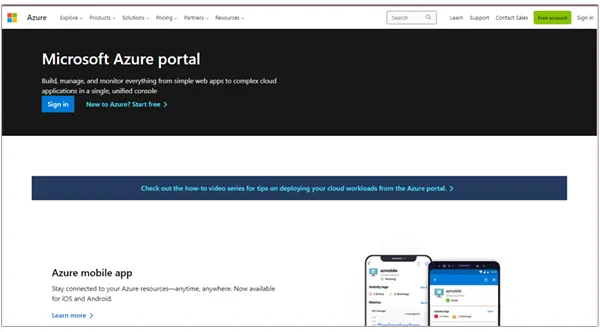
For the deployment of the Node.js app, you have to decide with which platform you want to deploy it. There are three ways to deploy a Node.js app to Azure, using Azure functions, Azure portal, and Docker. In the same way, there are ways to upload your application to various other platforms such as Google.
Node.js app development is easy if you know the correct steps and have sufficient skills in Node.js run-time environment and Visual Studio. Although developing an app is not something that can be done in a single day, it is a timely process that takes weeks of focus. In the start, the code might be filled with a lot of bugs and errors, or you might get stuck while writing a specific part of the code, but remember to never give up. All the best to your programming journey.