It may sound a little childish, but it often happens that we forget our iPhone passcode and end up having a disabled iPhone. It gives a little panic attack, doesn’t it? Because let’s face it, we can’t live without our phone, call it obsession or necessity, but it’s true.
So, what to do in such a situation? How can we resolve the iPhone disabled connect to iTunes issue? Well, there’s nothing to worry about, as I’m here with the right solutions. Have a read and know for yourself.
Why is My iPhone Disabled?
You must be wondering, with this query in this case, why your iPhone is even disabled in the first place. Most of the time, the error message ‘iPhone is disabled connect to iTunes appears when the user has entered the wrong passcode to their device too many times. In this case, the iPhone locks itself to protect your device from possible hacking attacks or if your phone is stolen.
Now that the iPhone is known for its security measures, you will have to bear some on your own as well. It has a powerful built-in security measure where one of the features is to prevent brute-force attempts to bypass the passcode. You may feel that this is not necessary but take it this way-
Imagine your phone is stolen, and the thief is now attempting to guess the password. Plus, there is so much software now that can help decode the lock screen passcode within a few minutes. And worst, what if you have a four-digit code? Did you know that there are only 10,000 combinations for it? These 10,000 combinations can be cracked by humans in only 4 hours and 6 minutes, while a computer can do the same in 6 minutes and 34 seconds. It doesn’t seem so unnecessary now, does it?
This is why there are so many inputs on your iOS device, to prevent anyone from breaking in. let’s see how many times chances your iPhone gives for entering the wrong password and how much the time delay is shown with it:
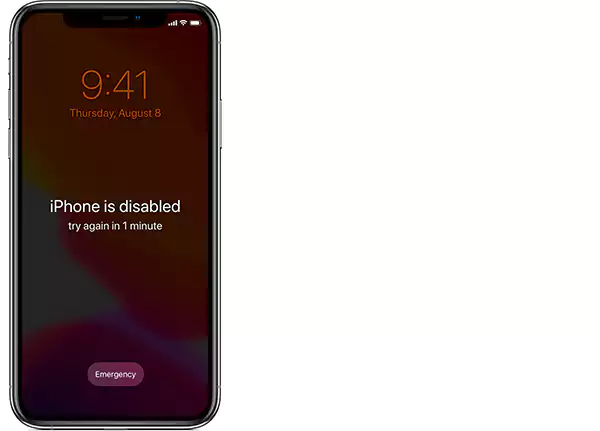
- 6 incorrect guesses- iPhone is disabled, try again in one minute.
- 7 incorrect guesses- iPhone is disabled. Try again in 5 minutes.
- 8 incorrect guesses- iPhone is disabled. Try again in 15 minutes.
- 9 incorrect guesses- iPhone is disabled. Try again in 1 hour.
- 10 incorrect guesses- iPhone is disabled connect to iTunes.
After 10 failed attempts, there’s no going back; this is where you’ll see the iPhone disabled connect to iTunes error on your screen.
Can I Prevent My Phone from Being Disabled?
You know what my first answer is going to be, be careful about your passcodes, and try not to input something so complex that even you won’t remember. You can even opt not to use a password at all (if you are okay with it).
Well, this is something irreplaceable or undoable, but what you can do to protect your device data is enable the feature that will automatically wipe off all of your device’s data when there are more than 10 failed attempts for the passcode. People often use this when they have some confidential or personal data saved on their phones and fear that anyone would try getting access to it.
Now that you know what the disabled iPhone connect to iTunes issue is, why it occurs, and if you can prevent it from taking place, let’s move ahead and learn how to fix it.
How to Fix the ‘iPhone is Disabled Try Again in X Minutes’ Issue?
If you are still getting the countdown notification, you are lucky enough to wait for another try, but if you have already tried with more than 10 failed attempts, then there’s nothing else left for you than putting your iPhone in recovery mode.
However, as long as you are getting the time count down, you will have another attempt, but make sure that this time you enter the passcode carefully as once you enter the wrong password again, you will be moved on to another waiting period.
And once you see the timer of 1 hour, that will be your last resort as after that, you won’t be getting any other tries and you will have no other way to connect your iPhone to iTunes. If you have already tried 10 times, then move on to the next step now.
How to Fix the ‘iPhone Disabled Connect to iTunes Issue?
Now that you have already tried quite a lot of times, you will have to connect your device to iTunes, but the question is how to connect a disabled iPhone to iTunes. Before moving ahead, let me tell you that you will somehow get into your device but will lose all the data in the recovery process.
But don’t worry; you will be able to restore the data from your last backup, you didn’t forget to make a backup, did you?
Here’s how to connect a disabled iPhone to iTunes:
For this, you will need-
- A computer- You can use your Mac or PC that has Windows 10 or later.
- Apple USB Cable- Since you need to connect your iPhone to the PC or Mac, you will need the charging cable that came with your device or any other compatible cable.
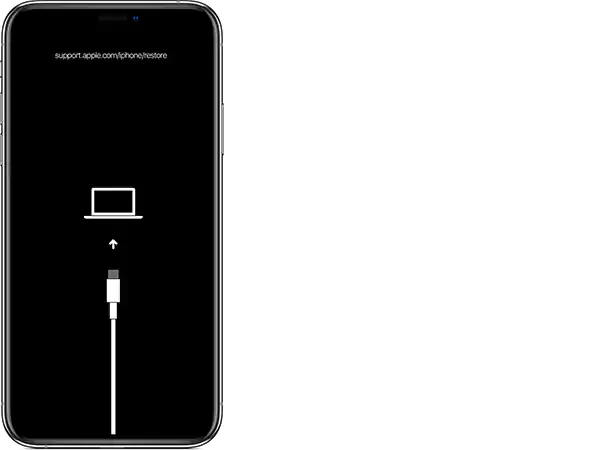
Step 1: Enter Recovery Mode
The very step you will need is to enter the recovery mode by connecting your iPhone to your PC or Mac. the method for the same will depend on the model of the iPhone you have:
iPhone 8 or later-
- Power off your device by pressing and holding the lock and one of the volume buttons.
- Once switched off, hold the lock button of your phone and simultaneously plug in the cable to your PC or Mac. keep pressing the button until you see that the recovery mode has started. If you see the passcode screen, then you need to switch off your device and do this process again.
iPhone 7, 7 Plus, and iPod touch 7th Gen-
- Switch off your device by long pressing the side button.
- Once done, connect your device to the computer while pressing the volume down button simultaneously.
iPhone 6 and earlier-
- The steps to power off the device are the same as iPhone 7 and others.
- To enter the recovery mode, press the home button and connect it to your computer, don’t let the button go until you see the recovery mode on your device.
Step 2: Locate your iPhone Via Your Mac or PC
Now you can either use the Find My iPhone app or iTunes to erase your device.
You will see your device’s name on the left side of the window.
Step 3: Restore iPhone
The recovery mode takes a little while but once it’s done, you can start with the restoration process. Select your iPhone on the computer and click on restore. Now the required software will begin to download on your system, this may take up to a few minutes, but if it takes longer than 15 minutes, you need to perform the entire process again. Wait for a while till the data of your device is erased entirely.
Step 4: Set Up Your iPhone
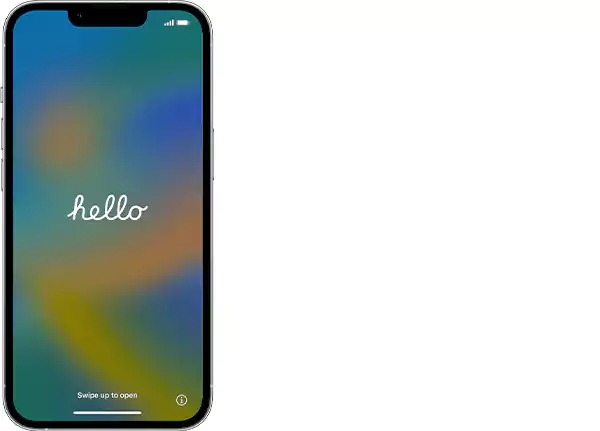
The last step while resolving the iPhone is disabled, connect to iTunes issue is setting up your iPhone back. You can easily set up your iPhone back by getting all the backup transferred back to your iOS device.
How to Connect Disabled iPhone to iTunes?
If you see that your iPhone is disabled and can’t connect to iTunes, it won’t be as simple and smooth as mentioned above. If wiping the iPhone with iTunes didn’t do much, you can do the same using your iCloud, continue reading to know how.
Use iCloud to Restore iPhone
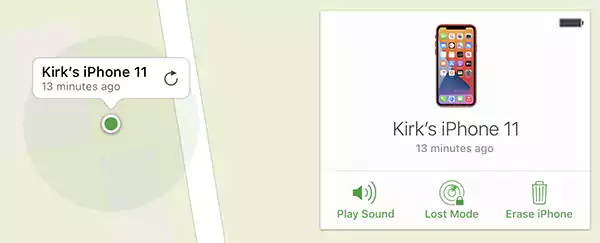
Another method of erasing your iOS device is by using iCloud for the same. However, this process is only possible if you have set up your device on the Find My app, also, for this, the disabled iPhone must have a data connection.
Visit iCloud.com on your Mac and click on Find Phone. There, you will be required to enter your Apple Account’s password. And then, iCloud will look for your device, once found, click on it and then on Erase iPhone.
And now that you have already erased your device, you can set it back as you did the first time when you bought it, only that, you will have all of your device’s backup this time. You can even transfer your Whatsapp chats from Android to iOS if you made any backup.